 |
|
 |
|
|
|
|
|
|
|
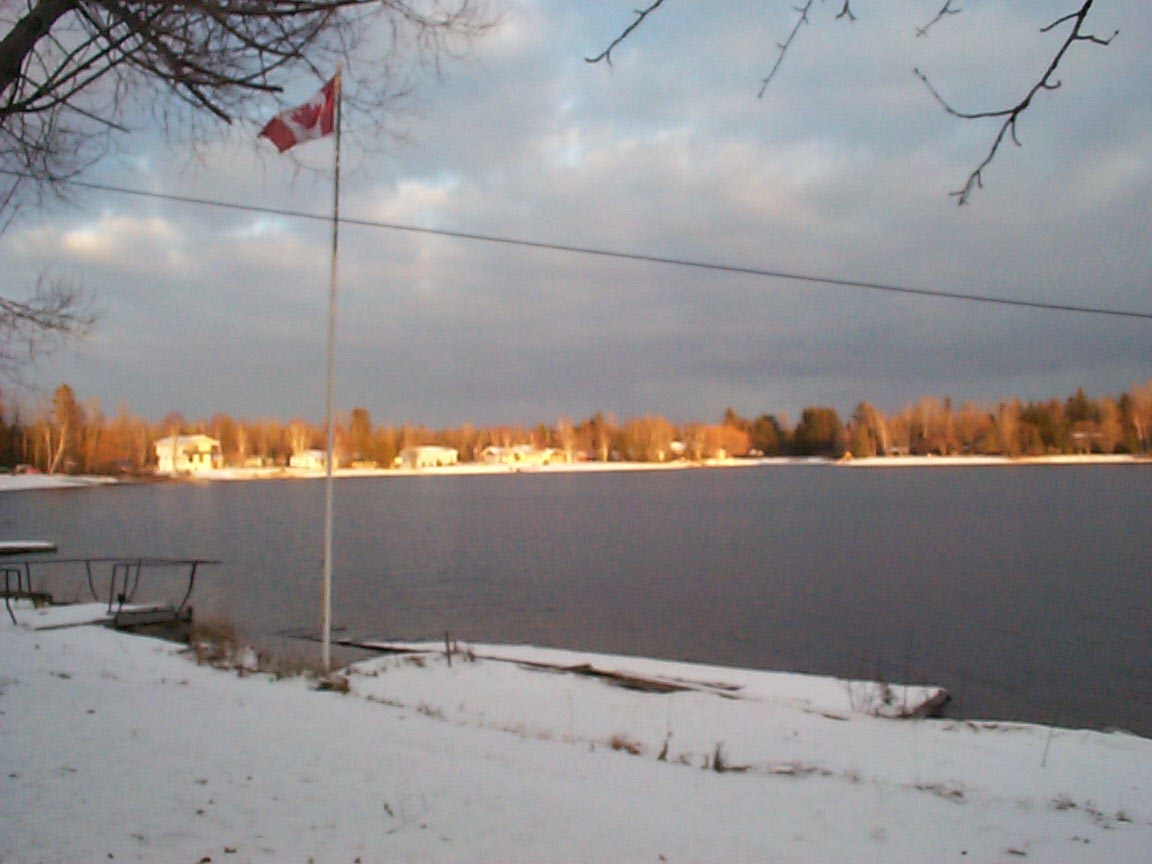
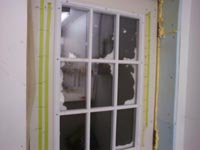
This was what I saw when looking out of the shop at about 4:30 a few
days ago. |
Grabbed my camera, went out, and took these shots I rather enjoy this time
of year; no bugs!.
|
Later than evening, we had a bit of blowing snow, as can be seen on
the shop's door. thanks to natural gas, we are nice and warm inside..... |
|
|
|
|
|
|
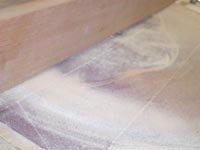
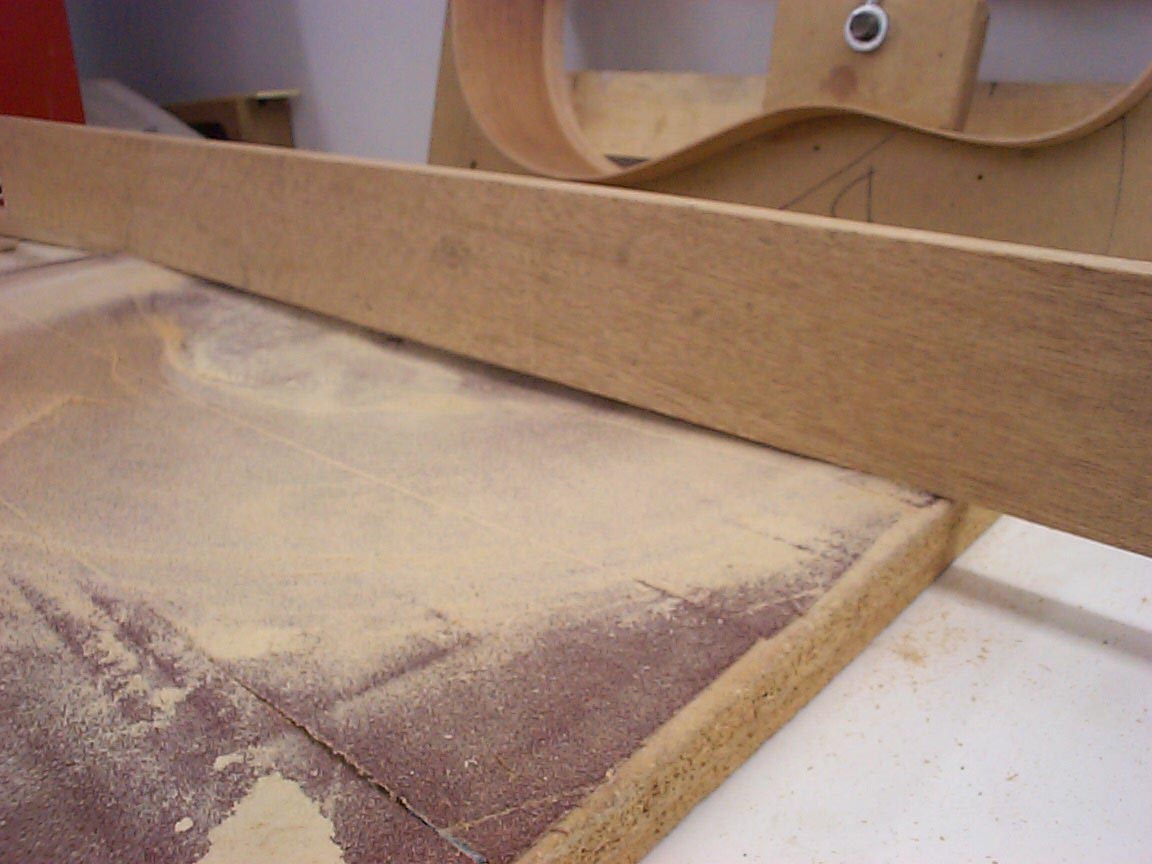
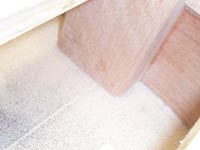
Okay, back to work.....This is the sanding dish...
the stick is the show the radius of this dish...
|
The purpose of this dish is to sand the sides and end blocks to the
same curvature as the back. The back is curved and tapered, a rather
complex shape that few appreciate the work that it adds...
|
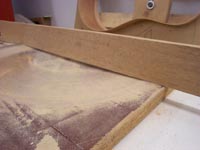
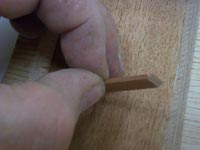
The side set is in there someplace! I take this, and twist it back
and forth on the dish until the sides and end blocks match the dish
perfectly.
Incidentally, after sanding this set, I decided to power up the dish.
This was just getting too hard on my old(ha!) body.
|
|
|
|
|
|
|
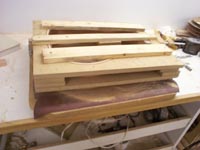
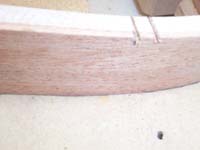
We can see that the neck block matches the dish quite nicely, thank
you.The next step was too glue in the back's linings, and sand them to the
dish one last time. Sorry, no photo...
|

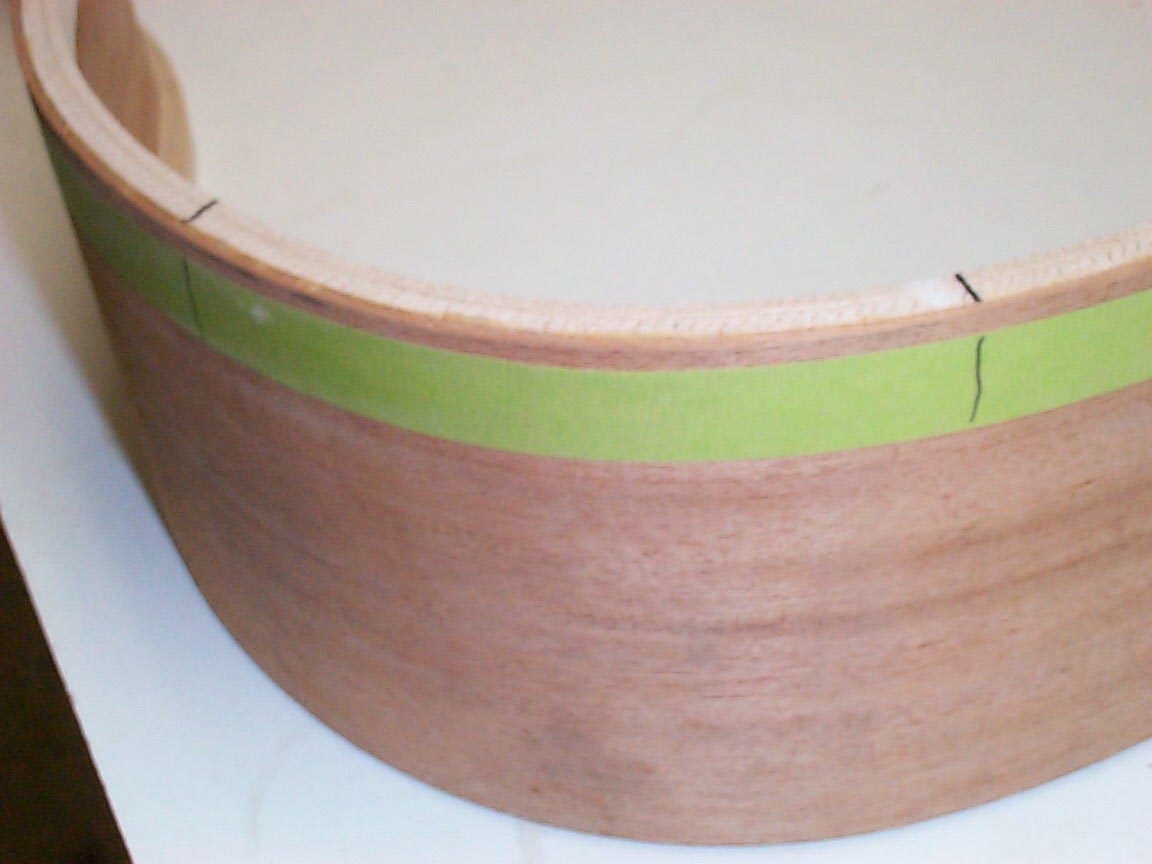
Now, we need some braces for the sides. The braces both stiffen the
sides, but more importantly, if a side crack should happen due to an
accident, the brace should stop the crack from spreading too far. The
green tape is to mark off the brace positions. I just leave this tape
stuck to the shop door when not in use. There are marks on the door for
when the tape looses its tack; I can just stick a new length on there and
mark it off. Cheap tools rule!
|

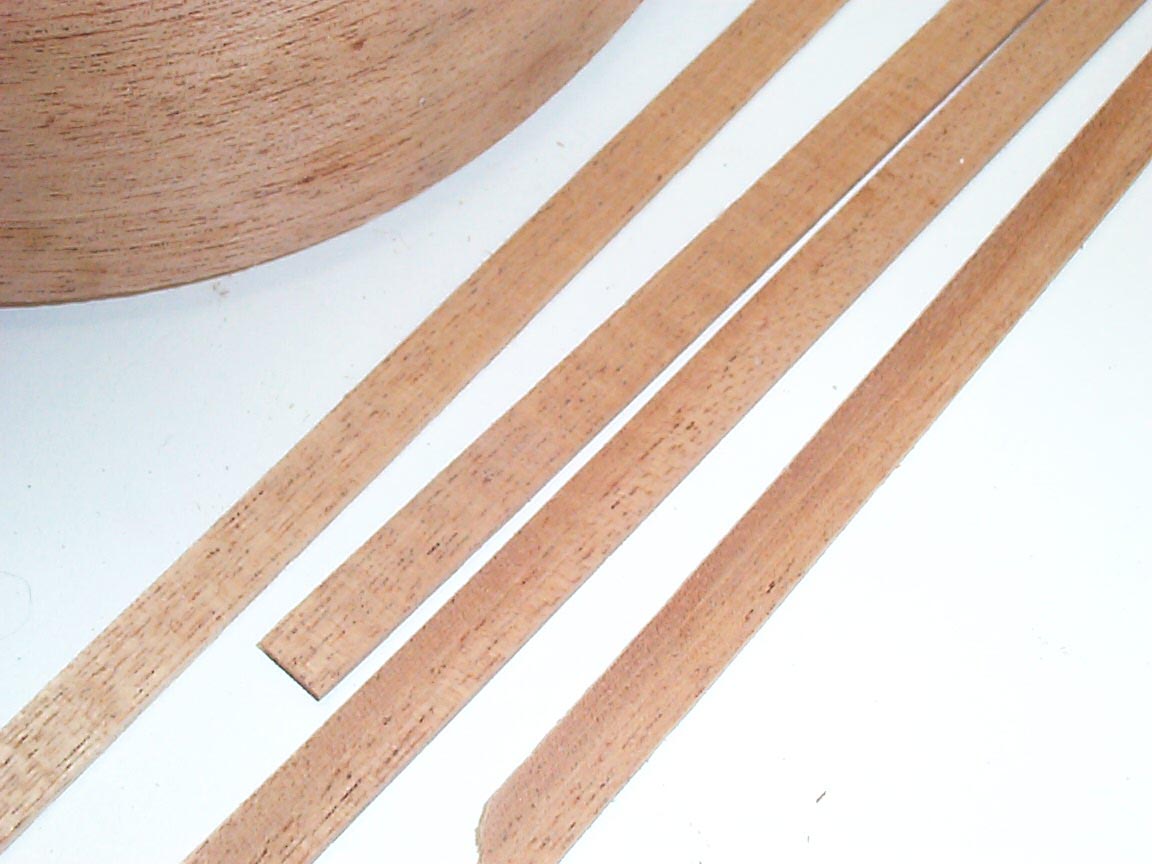
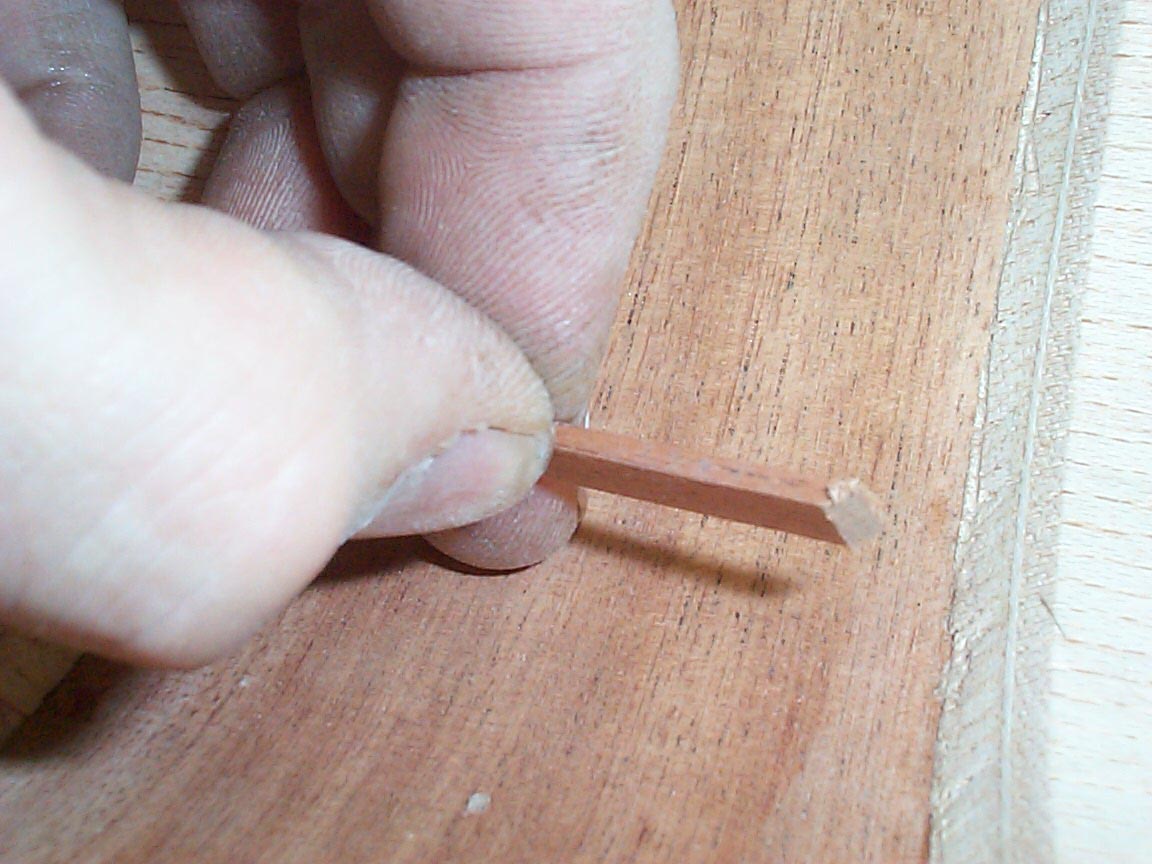
For our braces, I used matching strips of mahogany
|
|
|
|
|
|
|

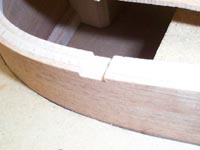
The weak point in side braces is always where the brace meets the
linings. If a crack should happen just below the lining, it can spread
easily, as the brace and lining don't provide a continuous
reinforcement.
|
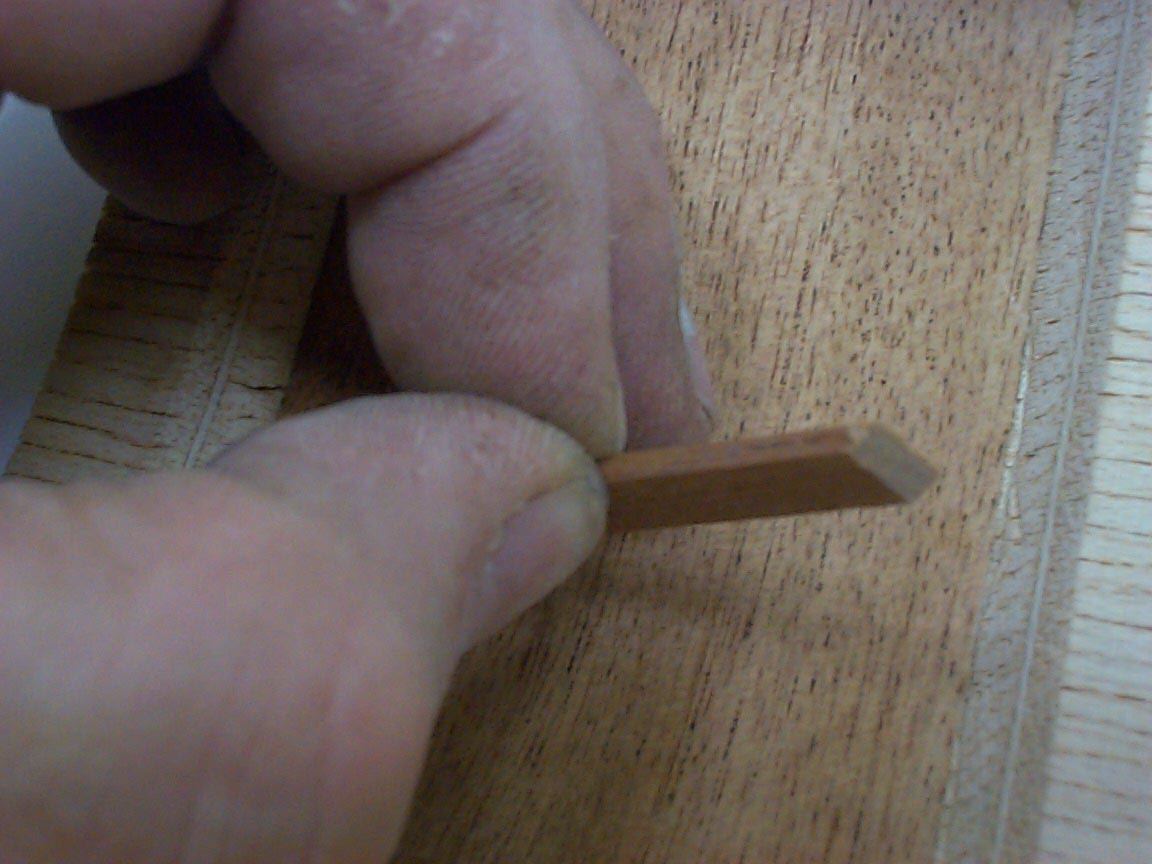
Having seen a few examples of sides that were split right below the
lining, I now cut my brace ends to match the lining's angle. When tightly
fitted and glued into place, they overlap the linings. this should provide
much more protection!
|
Here's our back, ready to go!
|
|
|
|
|
|
|
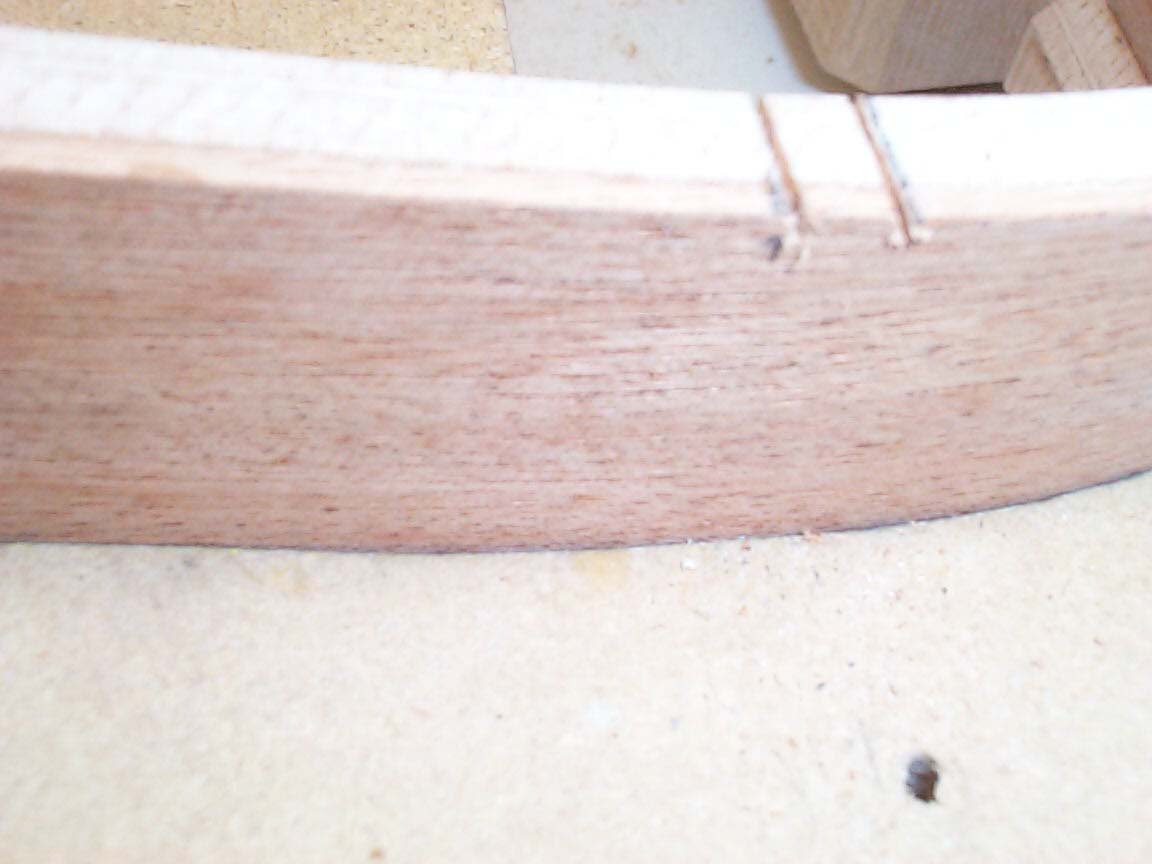
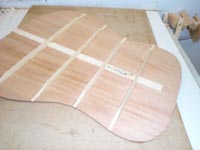
The back and sides are matched up, and the brace locations marked.
|
The braces are let into the sides and linings. This makes for a
stronger box, yet doesn't take away from anything else.
|
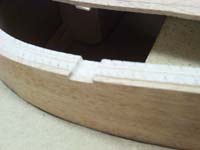
Cutting these little notches is done by first marking, then
cutting two slices, and finally by routing in between the slices with a
small router.
|
|
|
|
|
|
|

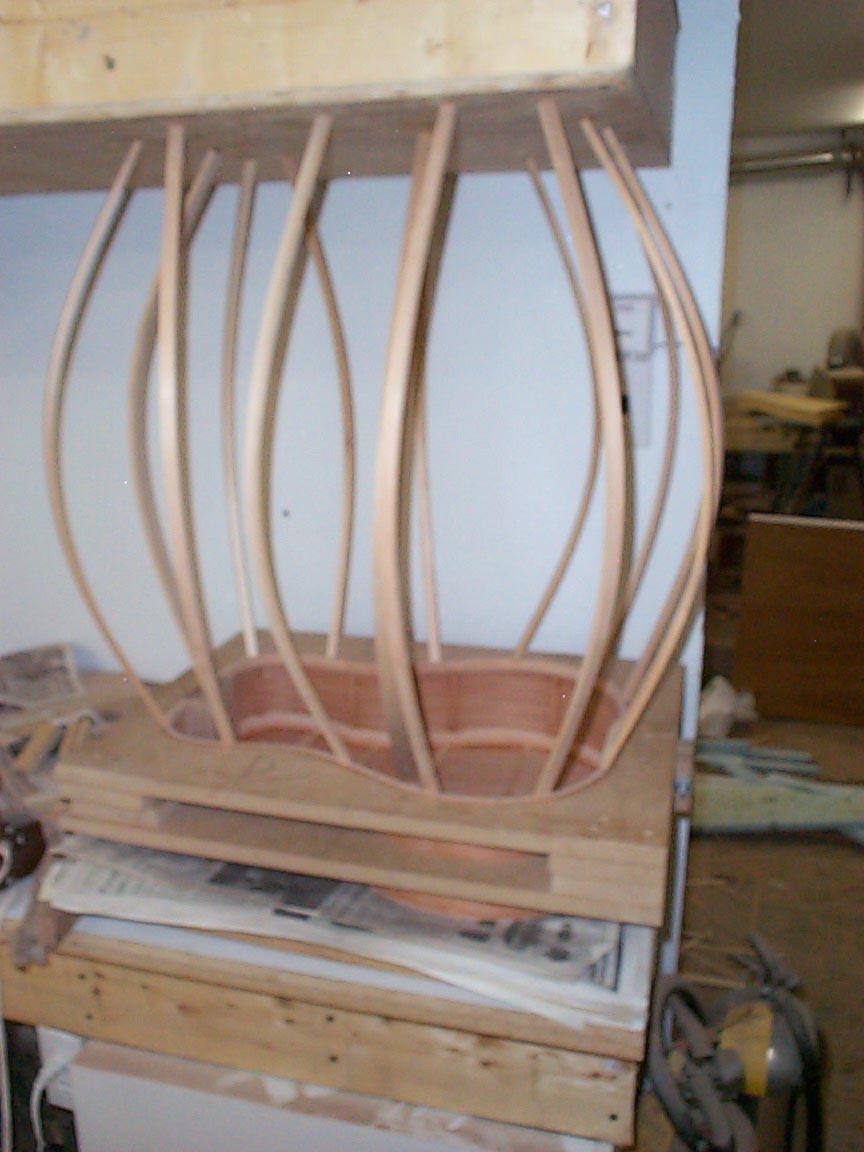
The sides and back come together in the ever popular go-bar deck. The
back is resting in the same dish that was first used to glue the back's
braces, and then to sand the sides to the same curve.
|

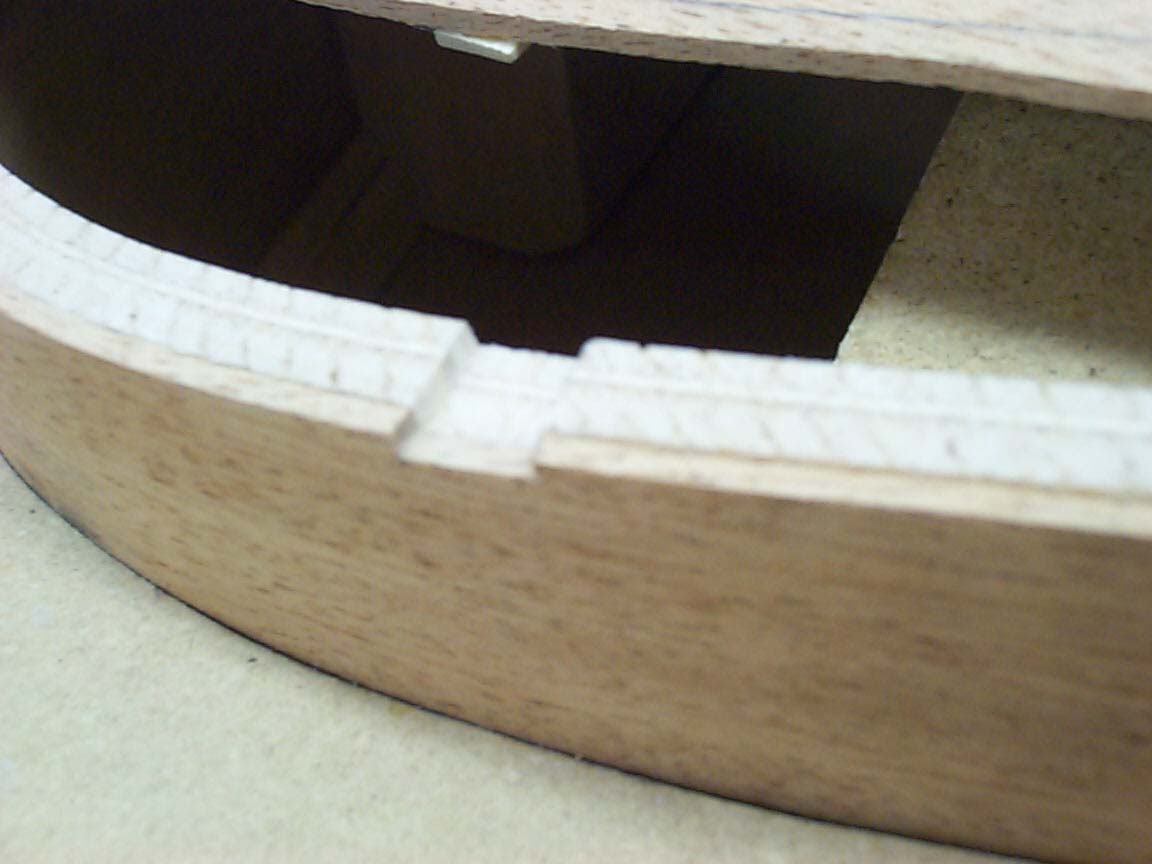
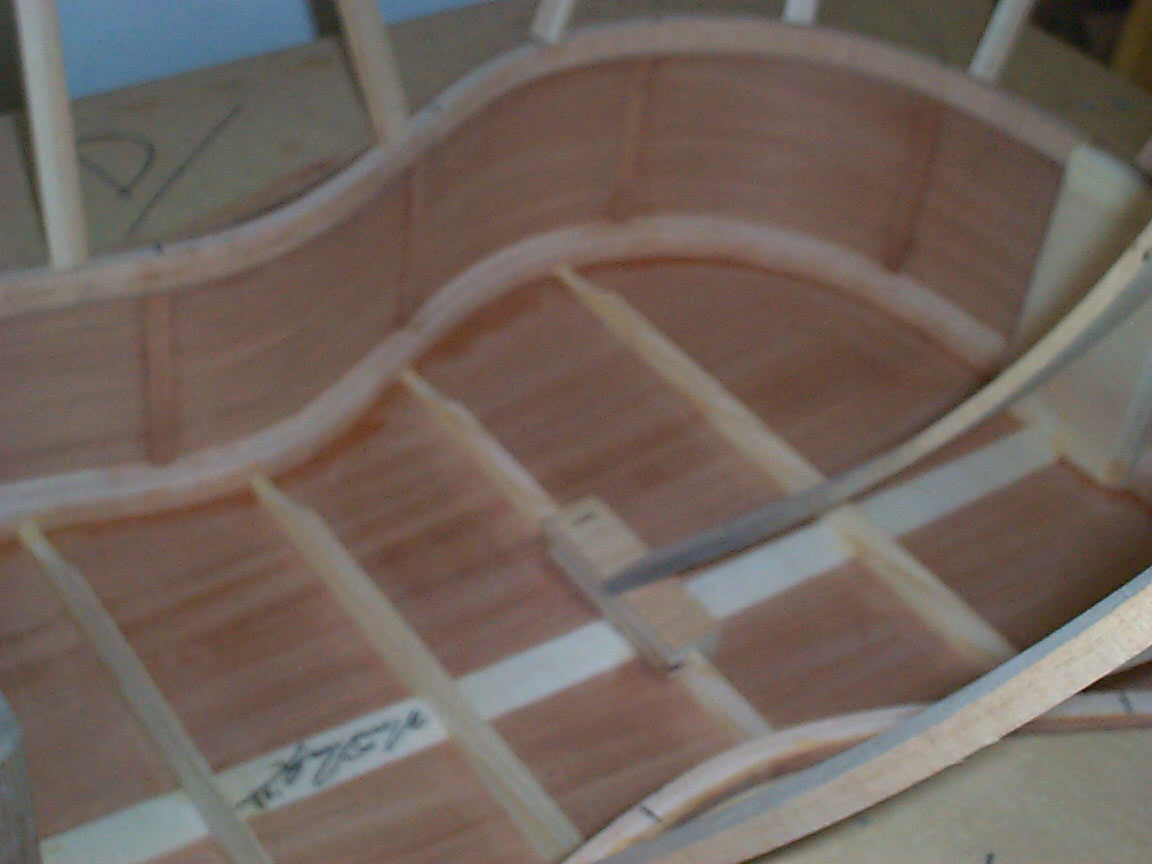
We can see how the side brace overlaps the lining, and how the back
brace fits into the lining.
The slight discoloration is moisture from cleaning the glue; it won't
show in a few more seconds..
|
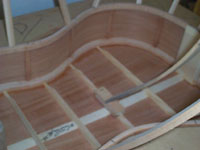
I want to back to have its full arch, so a go-bar is placed in the
center of the back to make sure it is firmly against the dish.
|
|
|
|
|
|
|
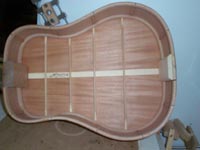
Tah-dah!! The completed ''boat''.
Now, we'll need a top, right?
|
|
|
|
|
|
|
|
|
| |
|
|
|
|
|
|
|
|
|
|
|
|
|
|
|
|
|
|
| |
|
|
|
|
|
|
|
|
|
|
|
|
|
|
|
|
|
|
| |
|
|
|
|
|
|
|
|
|
Previous
page
|
|
Next
page
|
|
|
|
|
|
|