Click on Photo to view full size
 |
|
 |
|
|
|
|
|
|
|
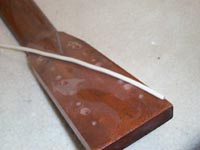
Another method, that is safer for the neck, is to use a simple length of
copper wire. Regular 14 gauge household wire is perfect. |
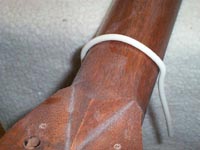
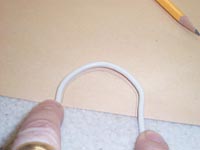
Wrap the wire tightly around the neck, forming it until it fits perfectly.
It is sometimes necessary to bend it free-hand to make it fit, but it
doesn't take much skill to do.
|
Now, take the wire, and trace the outline onto some stiff, thin
cardboard. The cardboard from a case of Pepsi or coke works fine, as
will poster board stock. |
|
|
|
|
|
|
 |
|
 |
|
|
|
|
|
|
|
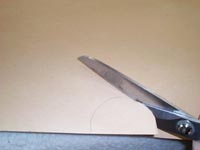
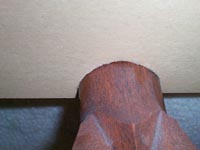
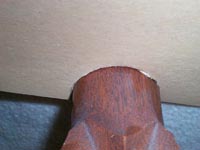
Cut carefully on the line with scissors. |
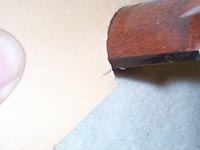
Check it for fit....
|
.And trim a little at a time until the fit is as perfect as you can get
it. |
|
|
|
|
|
|
 |
|
 |
|
|
|
|
|
|
|
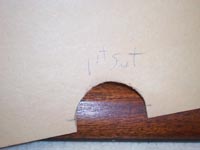
Once a perfect fit is realized, mark off both edges of the
fretboard. VERY important!
|
Tah-dah!
I need one from the first fret, and one from the ninth.
|
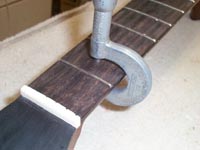
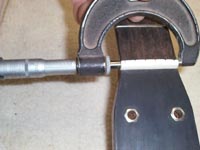
Just as important, if not more important, is to accurately measure the
neck's depth in between the 1st and 2nd frets, and the 9th and 10th.
I use a micrometer, but a caliper will do just as well. A machine
shop, school, or even your local repairman can help with this.
|
|
|
|
|
|
|
 |
|
|
|
|
|
|
|
|
|
And lastly, I'll need the width at the nut, and at the 9th fret,
again, as accurately as possible. |
|
Previous page |
|
|
|
|
|
|
| |
|
|
|
|
|
|
|
|
|
|
|
|
|
|
|
|
|
|
| |
|
|
|
|
|
|
|
|
|
|
|
|
|
|
|
|
|
|
| |
|
|
|
|
|
|
|
|
|
|
|
|
|
|
|
|
|
|
|
