| |
|
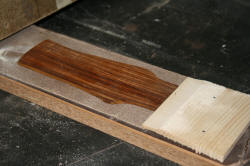
I cut the headplate way oversized, and now need to thin it to 1/16". I
made this little board, attached 80 grit sandpaper to it for some grip,
and tacked on a "fence" to hold the headplate in place.
|
|
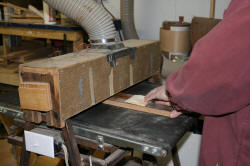
A few passes should do it. Don't ever attempt to thickness small parts
such as this without a backer board of some sort! |
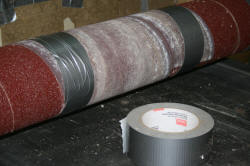
Here's a tip: when all I need to do is make a few passes on a small
part, and I want a finer grit on the sander than is already on it, I'll
simply duct tape a short section of abrasive on the center of the drum.
Quick, simple, and works perfectly. Beats having to swap out the entire
roll!
|
|
|
|
|
|
|
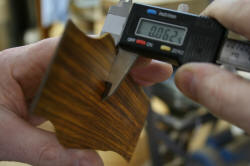
The result.... |
|
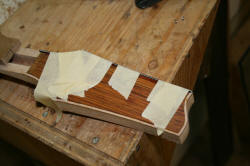
Oops! Forgot a few photos; here she is fixed to the headstock, trimmed
and already rout3ed for the purfling lines, which will be a simple black
and white |
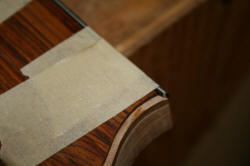
Marking tape is the clamp that holds the lines in place as the glue
cures. I install them by going "around" the headstock, always fitting
one miter at a time. |
|
|
|
| |
|
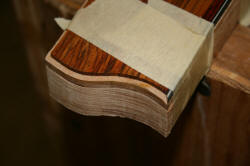
The |
|
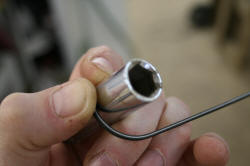
I'll grab a simple socket that is smaller than the radius I need, and
wrap the purfling slowly around it. |
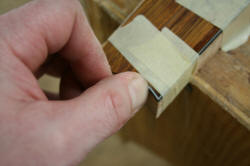
The end is cut using the trial and error(or as my Late Dad would have
said, "trial by error" <lol>); with the purfling bent to a smaller
radius than needed, the purfling will push itself into the channel
tightly. |
|
|
|
|
|
|
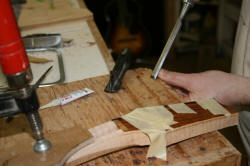
Here's how I cut the miters; a sharp 1/2" chisel. |
|
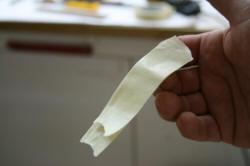
Another tip; for really bearing down and taping the lines tight, I'll
double up the masking tape for a few key spots. Doubling the tape like
this still allows it to stretch some, so it acts as a clamp, yet it can
take an awful lot of pull before breaking. Try it! |
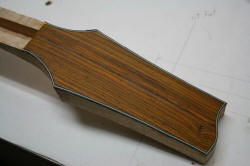
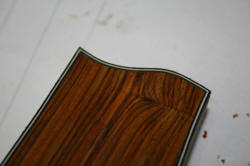
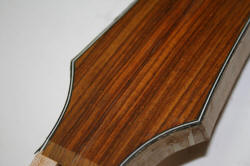
Done! |
|
|
|
| |
|
 |
|
 |
..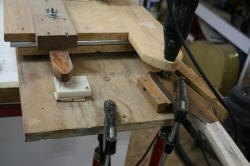
Here's my homemade logo inlaying rig. It runs east/west and north/south
on ball bearing drawer slides. Simple and effective |
|
|
|
|
|
|
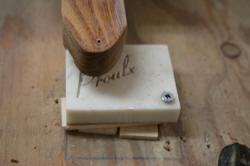
I cut roughly 73-75 of my76 logos completely by hand before deciding to
have someone cut them for me on a CNC. The company also cut me a female
of my logo to use in my rig. |
|
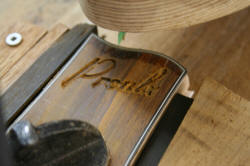
A Dremel tool, with router bits I get from my friend and Dentist, Tom
Vockeroth do the routing. Someone on The Mandolin Cafe gave us the tip
of using a little wee bit of tape on the router bit; it creates just
enough air movement to clear the dust and chips, yet doesn't unbalance
the bit. My hat's off to you! |
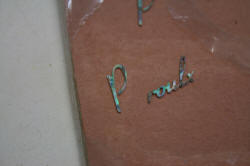
Here's what the logo looks like before inlaying |
|
|
|
| |
|
|
|
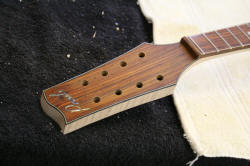
And after! |
|
|
|
|
|
|
|
|
|
|
|
|
|
|
This A-52 model is being donated to the Studdard Family Scholarship Fund,
and it will be drawn on June 26th, 2009 at Steve Kaufman's Acoustic Kamp. If
you would like to purchase a chance(ticket), or to simply donate something
toward the fund, please contact Warren
Knorr or
call JoEllen at Steve's
Flatpik Central Ph 865 982 3808 Mon-Fri 9AM to 2PM EST Each $10(Ten Dollar)
donation buys one chance/ticket!
