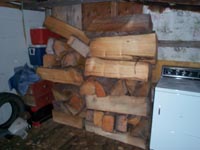
Here's a pile of split spruce billets drying on my shed.
|
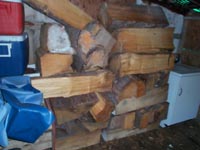
Doesn't look like much, but there is, in fact, a very good amount of
spruce in there. Some black, some red spruce.
|
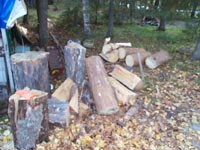
More logs being split into billets...mostly bracewood here.
|
|
|
|
|
|
|
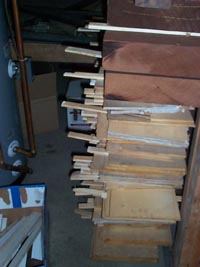
After the billets are dried for a few years, they get rough sawn, and
stacked(stickered) in my home's furnace room, where the temp stays at
about 75 degrees, and below 30% relative humidity most of the year. Nearly
ideal conditions to slowly dry the wood. |
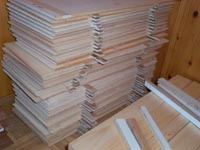
The rough sawn, bookmatched tops are later taken to another step, where
they are sanded to reveal their beauty(or lack thereof!) and their
stiffness. At this time, a good feel for the wood can be had, and I can
pretty well know if the top will be stiff enough, and if the damping
properties are high or low. At this point, the tops get stored in the
shop, where the climate is kept at 70 degrees and the RH never leaves the
range of 38% to 43%
It has taken a few years from log to this point, yet likely more than
half the spruce will go into the firewood pile.
|
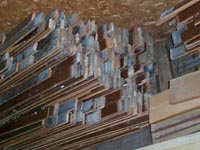
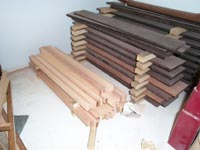
Another hobby/obsession of mine is the search for old woods that can be
used as tone wood. Here, I have a pile of Douglas Fir that was cut in
early 1920. This was rescued from a church that had burned pretty badly.
These were in a wall, behind some drywall, and in great shape! they will
become back and side braces for some models.
|
|
|
|
|
|
|
 |
|
 |
|
|
|
|
|
|
|
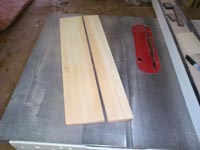
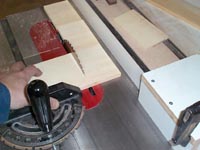
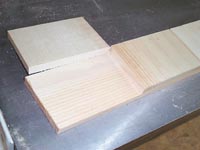
Here, I take some off cast pieces of spruce tops that weren't quite
good enough for tops, and make them into end blocks. |
I like to laminate two pieces of spruce for end blocks, with the grain
running in opposite directions; this way, the
block cannot split, which can happen with a regular block, because of the
end pin's wedge effect.
|
It's quite a bit of extra work to make these, but in large enough
numbers, it's reasonable. Here, I'll end up with 5 blocks for the OM/D
models.
Incidentally, not every guitar gets these blocks. I still use a
mahogany block for certain guitars, but I orient the grain such that it
also cannot be split.
|
|
|
|
|
|
|
 |
|
 |
|
|
|
|
|
|
|
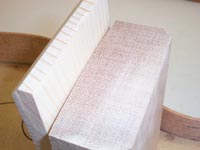
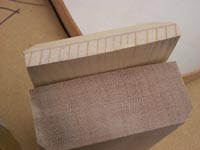
Here, we can see the curve of the gluing surface of both the end and neck
blocks. The neck block shown here is also laminated, but in mahogany this
time.
|
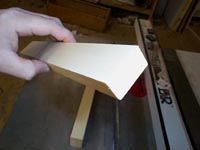
Perhaps a better view of the curved surfaces.....
There are very few, if any, truly flat surfaces and areas on a guitar!
|
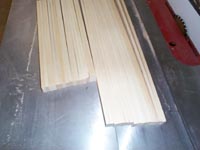
Here, another small billet of spruce will become a bunch of braces(back
braces, here)
|
|
|
|
|
|
|
 |
|
 |
|
|
|
|
|
|
|
A little while later, and we have enough rough braces for 8 guitar
backs. |
These rough braces will be stickered for a few months. Even though the
billet was dry, i still like to leave every freshly cut piece
"rest" for a while before use.
|
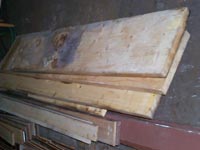
Here's a pile of old spruce timbers(the thinnest among them is over
2 inches think!) that I rescued from an old garage; they, too will become
braces, and even a few pieces will become mandolin tops. There's just
something "lively" about old, seasoned wood. |
|
|
|
|
|
|
 |
|
 |
|
|
|
|
|
|
|
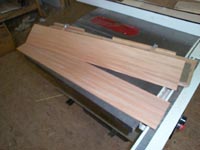
The off cuts from the ends of guitar tops get used as the center
reinforcement for the backs. Waste not, want not! |
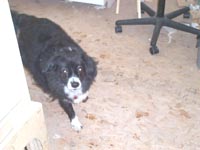
Once in a while, The Boss sneaks up on me!
|
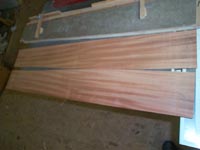
Here, we have the squared up sides for the 2004 DU drawing
guitar. |
|
|
|
|
|
|
 |
|
 |
|
|
|
|
|
|
|
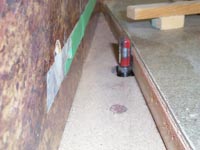
The square sides are bookmatched, and one end is designated as the rear,
and cut perfectly square, then they are clamped into a jig that will cut
and define the back's gluing edge.
|
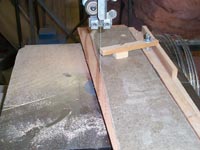
The bandsaw is used to remove most of the excess......
|
Then the jig is taken to a table mounted router, and the sides will now
see their final profile.
A guitar's back is a complex, curved shape, and the sides need to be
cut to this shape before bending.
|
|
|
|
|
|
|
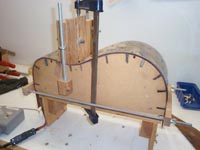
The sides are then bent in a heated bender. I kept my bender simple,
and the bending is actually done with gloved hands; this still allows me
a good "feel" for the wood, as it bends.
Definitely not an "automatic" system!
|
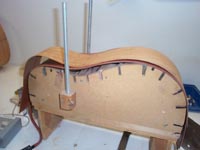
After "cooking" for 5 minutes, the side is then left to cool
for an hour or more, before the bender is opened,
|
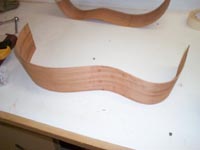
Tah-dah!
|
|
|
|
|
|
|
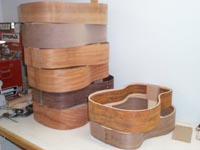
Here's my current stack of sides...
Any guess for which wood is most popular?
PREVIOUS
PAGE
|
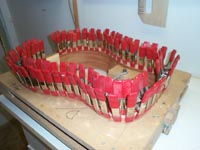
My laminated linings(no, I'm not showing how I make those!) need heavy
clamping, and the sides need to be held to their final shape during the
gluing process, as they will be very stiff afterwards.
|
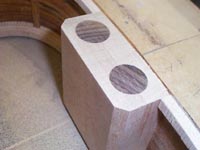
Every now and then, especially with the heavier Cocobolo guitars, I
take extreme steps to reduce weight. Here, I have hollowed out the neck
block by drilling 3 inches down with a 7/8' bit, then capping them with
custom cut rosewood plugs that are only 1/8" thick. This reduces the
weigh of the block considerably, yet no gluing surface area was lost.
Next
Page
|
|
|
|
|
|
|
