| |
|
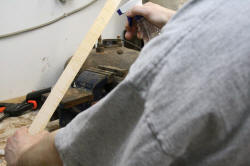
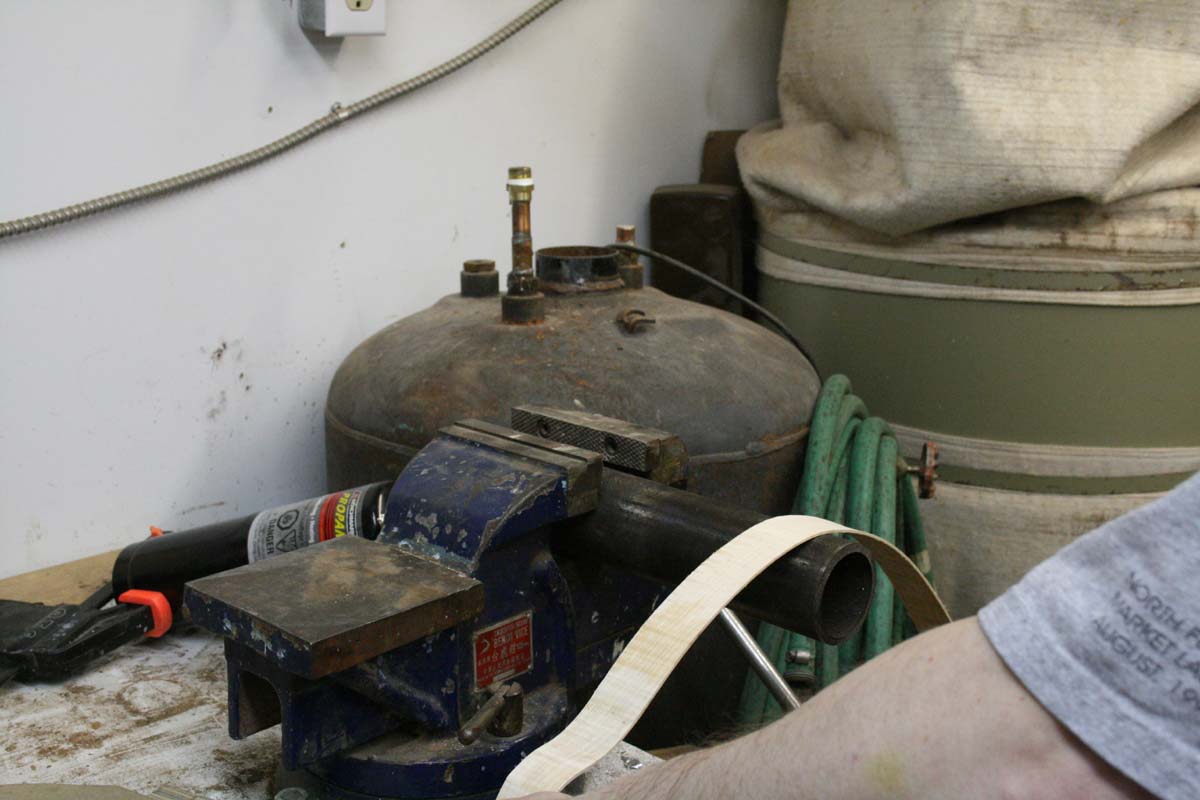
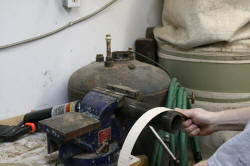
While the pipe is getting up to temperature, I'll spritz a bit of water
on the rib |
|
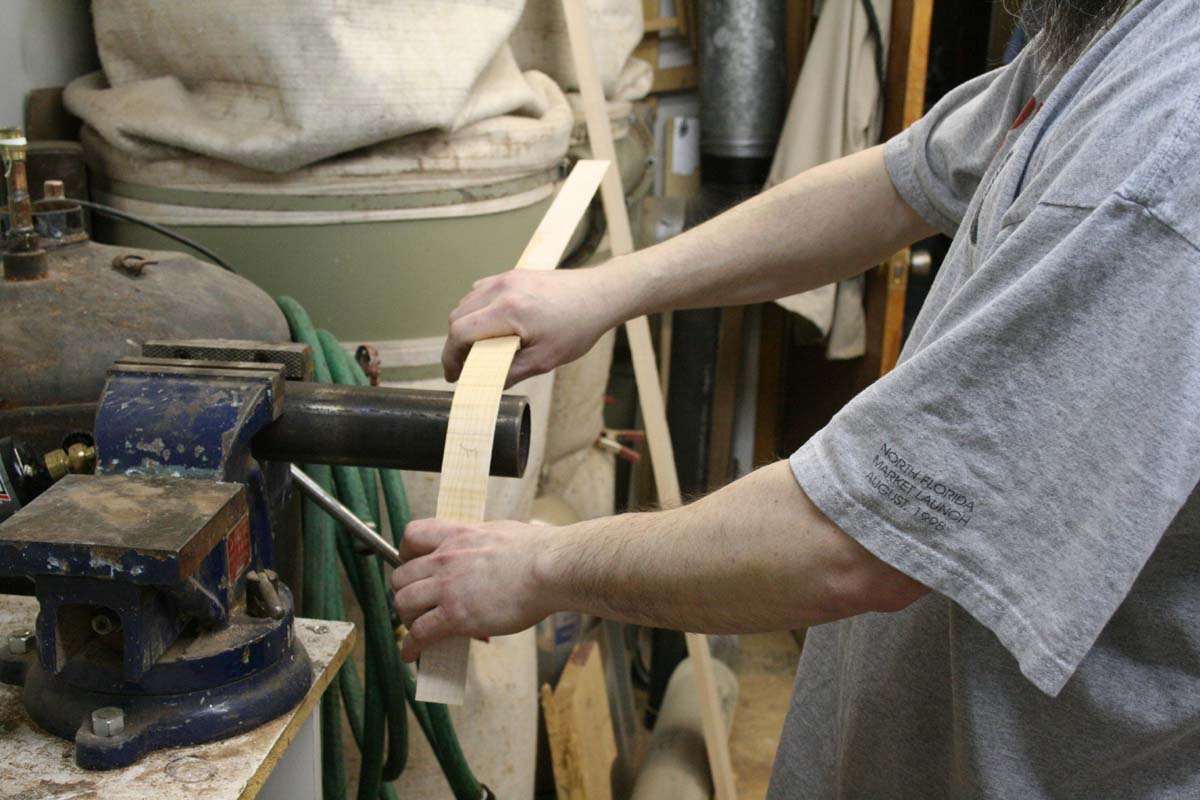
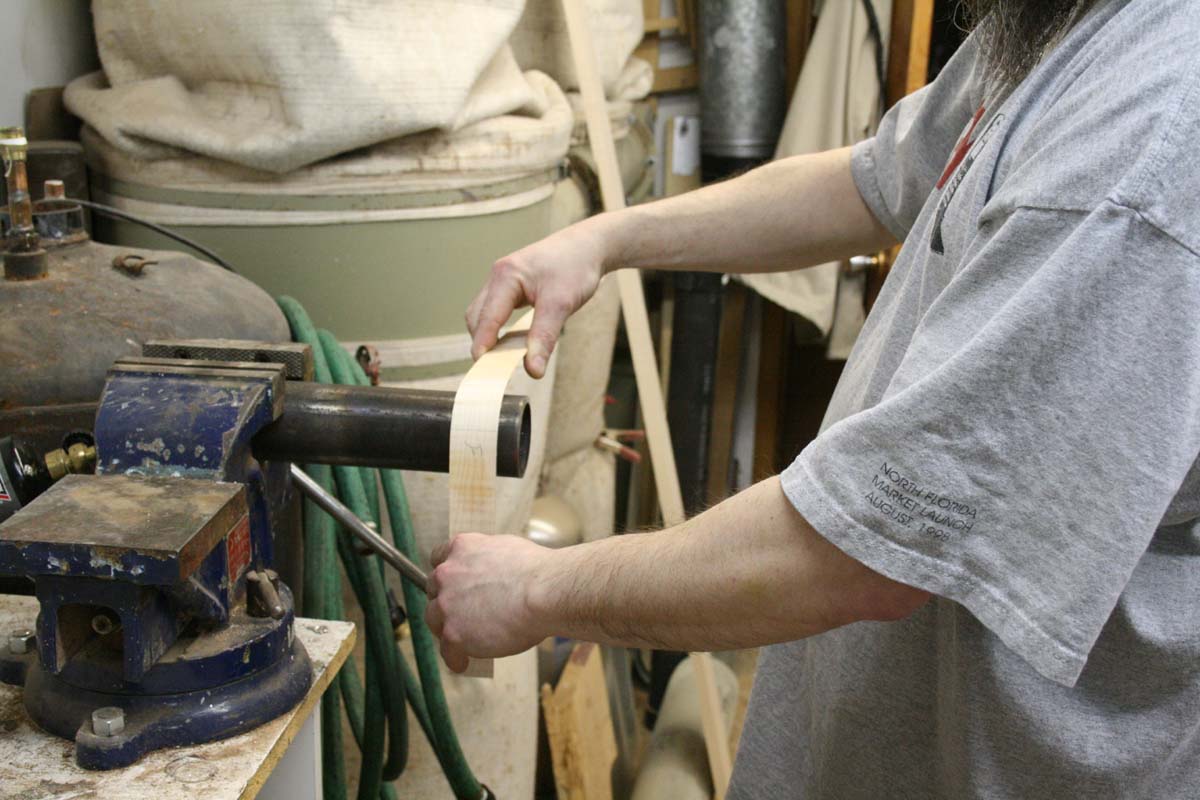
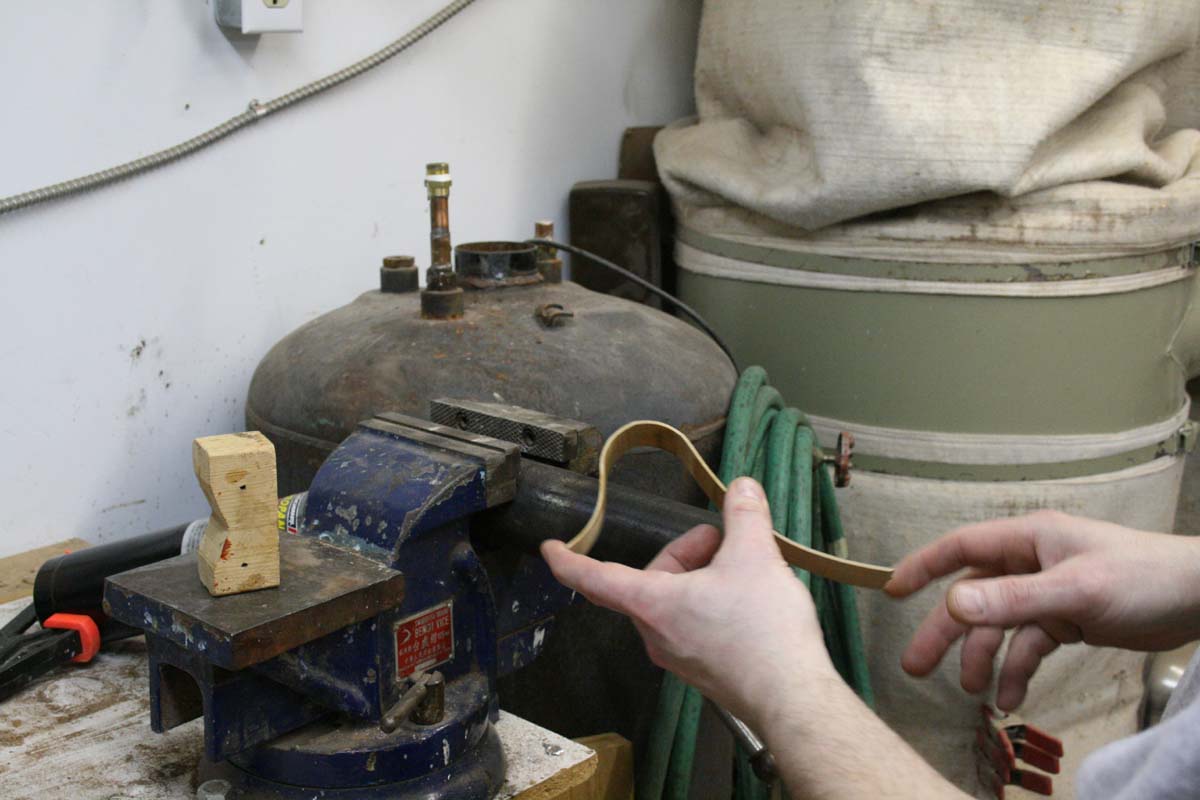
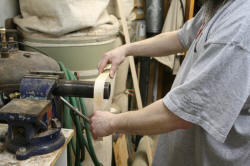
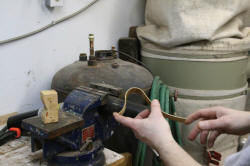
When possible, I leave the rib as long as possible, which gives me a bit
of a "handle" to help start the bend. I begin by rolling the rib, back
and forth, until it is hot enough that it begins to "give" under light
hand pressure. |
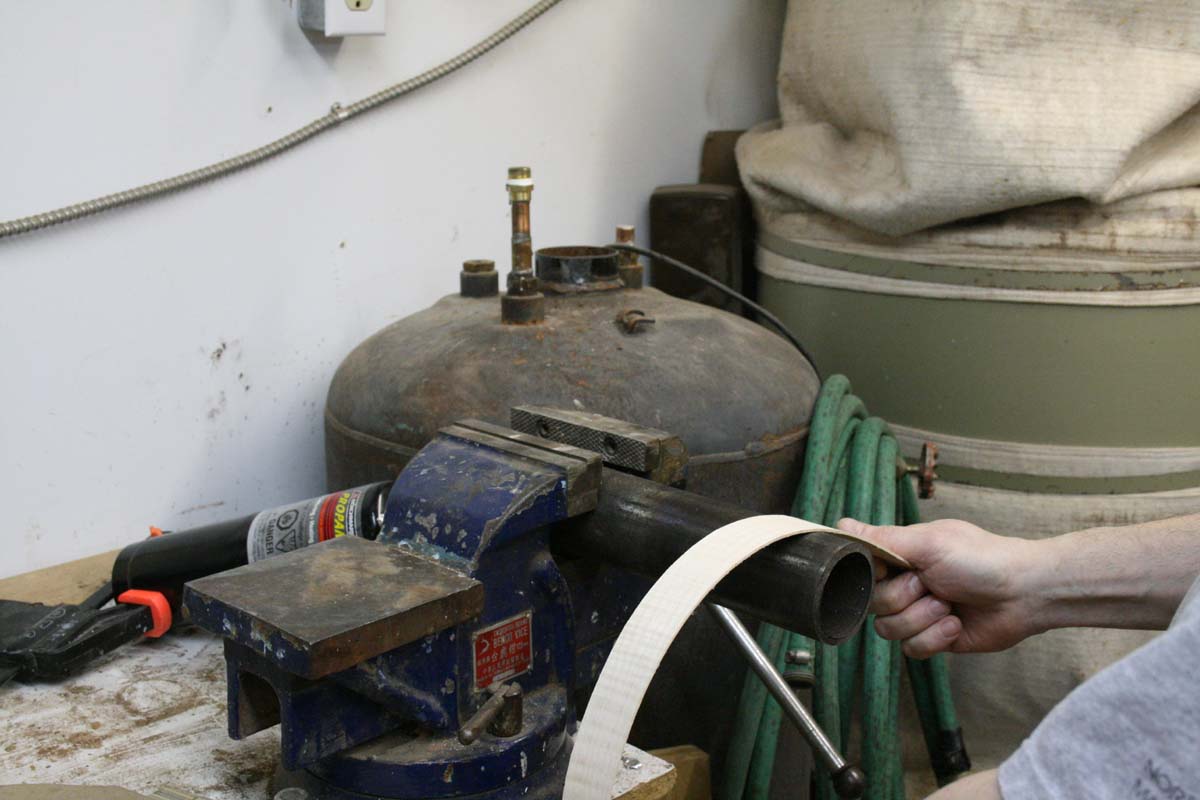
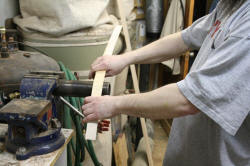
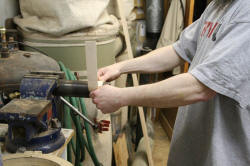
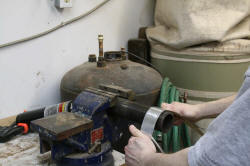
Once it begins to give, I keep rolling, never stopping, but begin
applying more pressure. |
|
|
|
|
|
|

Always rolling.... |
|
Still rolling, still applying pressure, and the bend continues to form. |
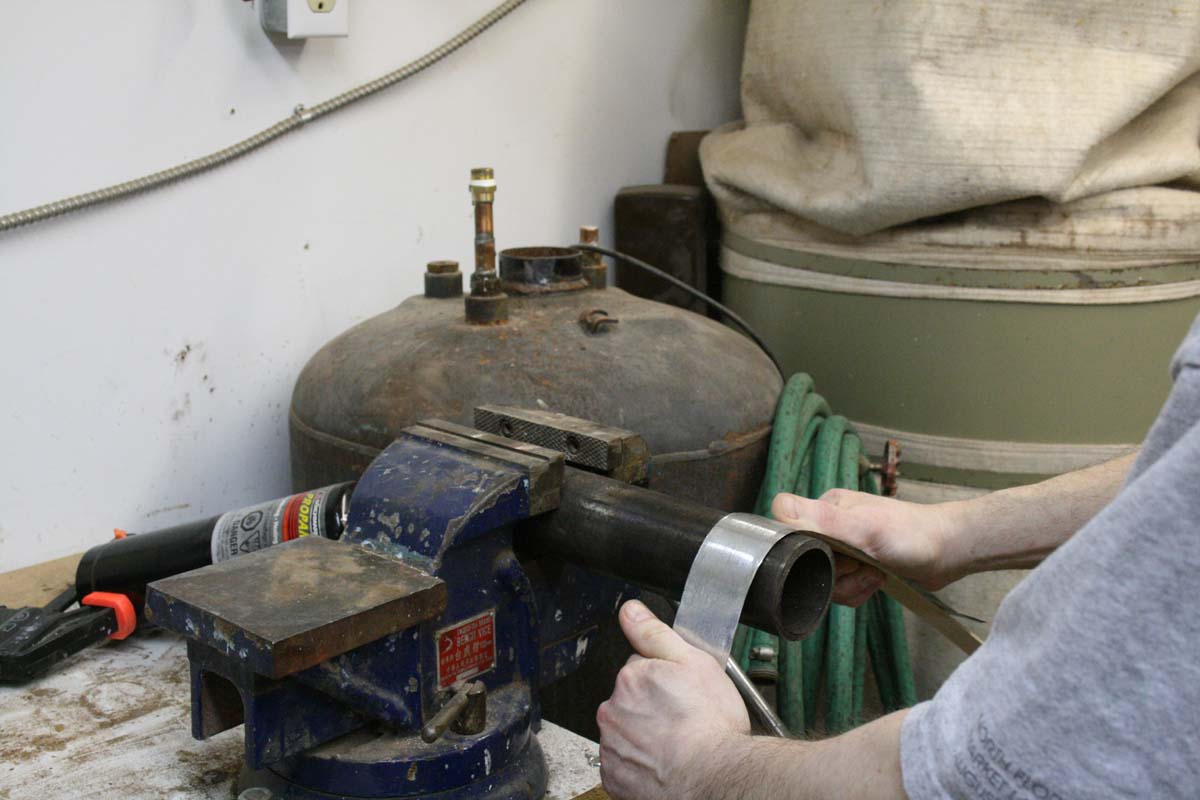
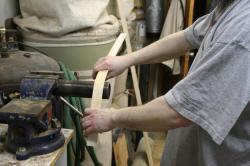
Until I can see the bend getting close to what I want, then I'll stop
rolling, and gently force it, and hold it in place a few seconds to
"set" the bend. |
|
|
|
| |
|

Check the progress... |
|
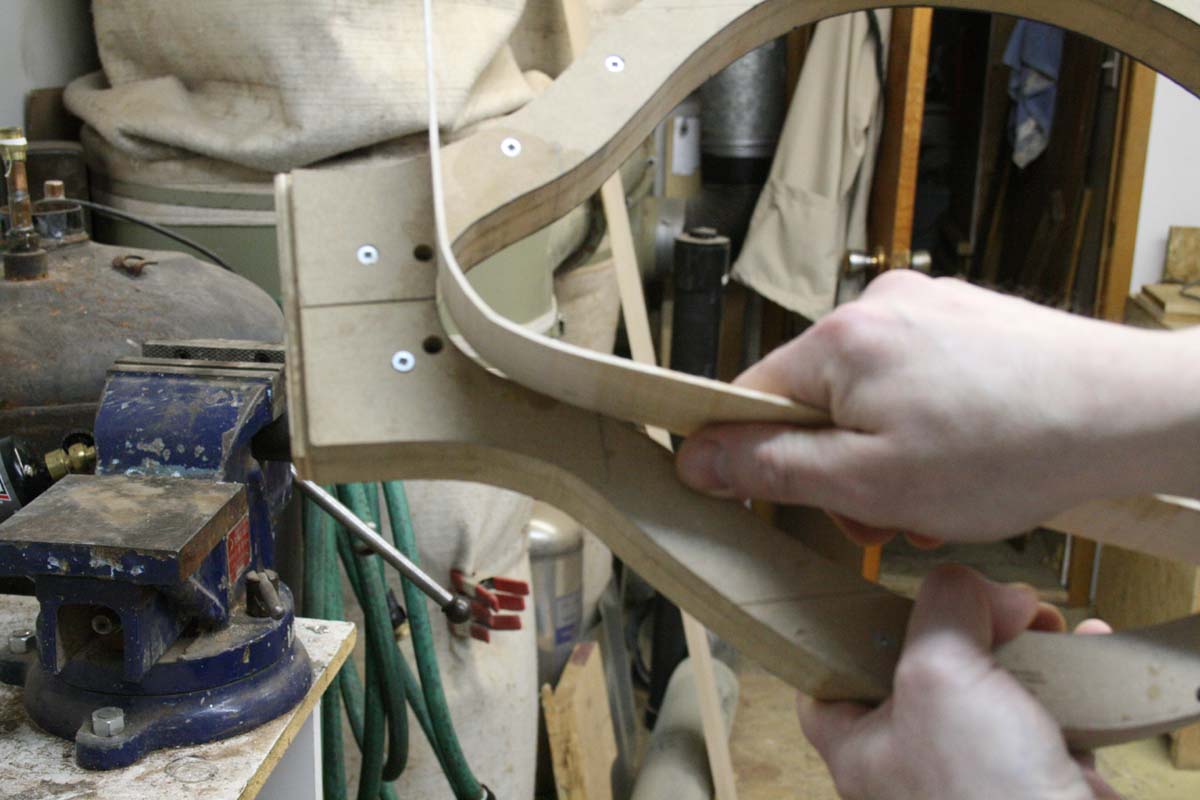
Once very close, I'll begin the rest of the bends, always working from
the neck block toward the tail. |
More... |
|
|
|
|
|
|
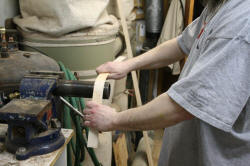
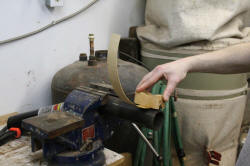
Now I can move pretty quickly through the long, gentle radius... |
|
..and finish up with touching-up any flat spots, etc... |
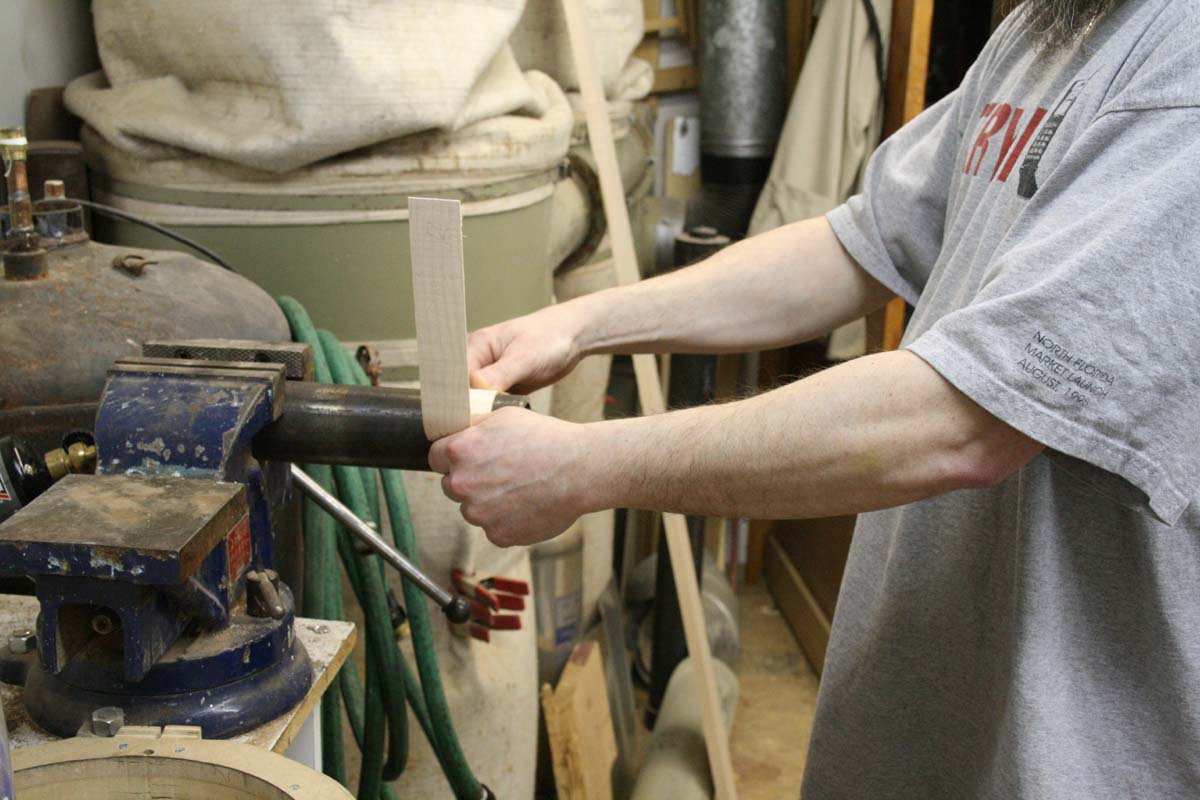
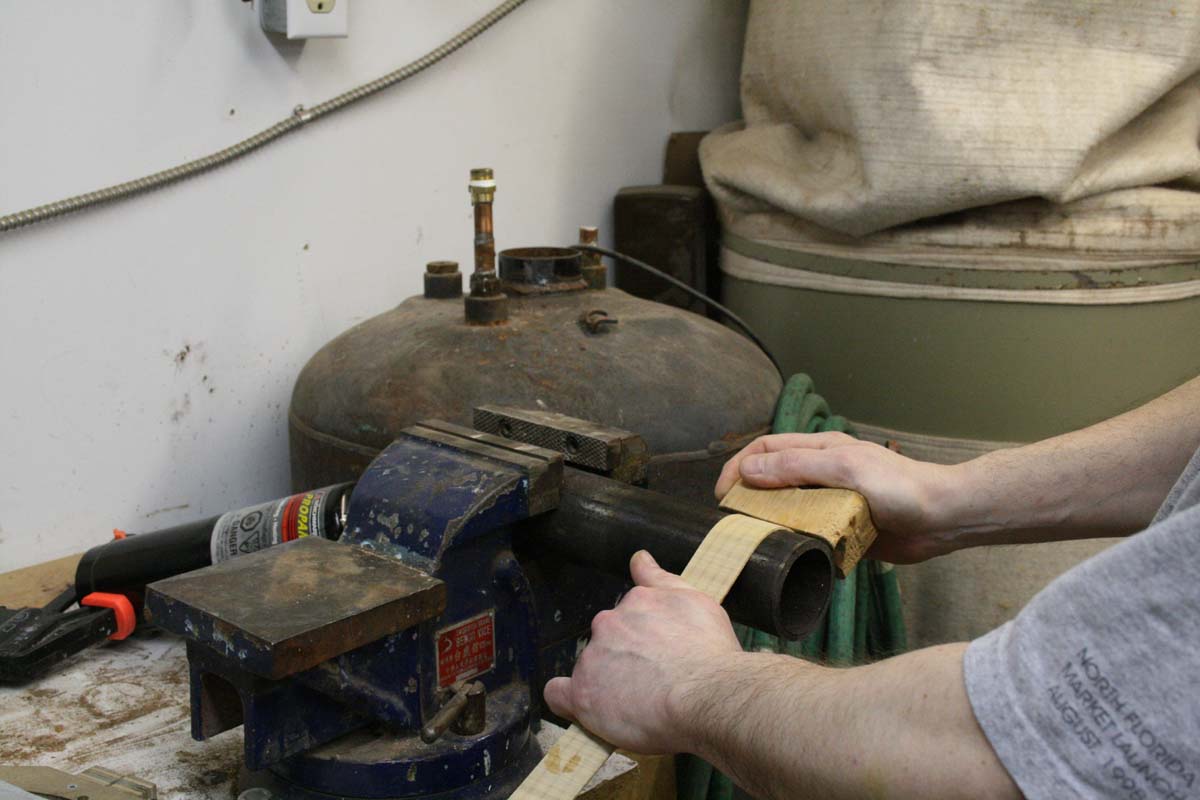
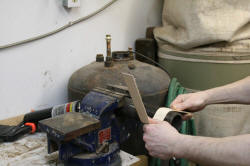
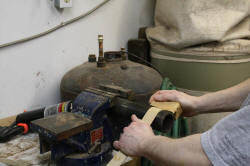
Some ribs just want to snap, so I'll often use a backer strip to support
the rib while bending. I hate using it, because it gets in the way, but
sometimes I have no choice. |
|
|
|
| |
|
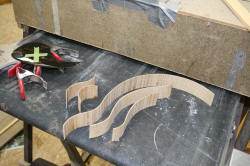
This is a Myrtle(AKA: Bay Laurel) rib that will become a J-5 mandolin. |
|
The J-5, like and F-5, isn't near as simple as an A-5! |
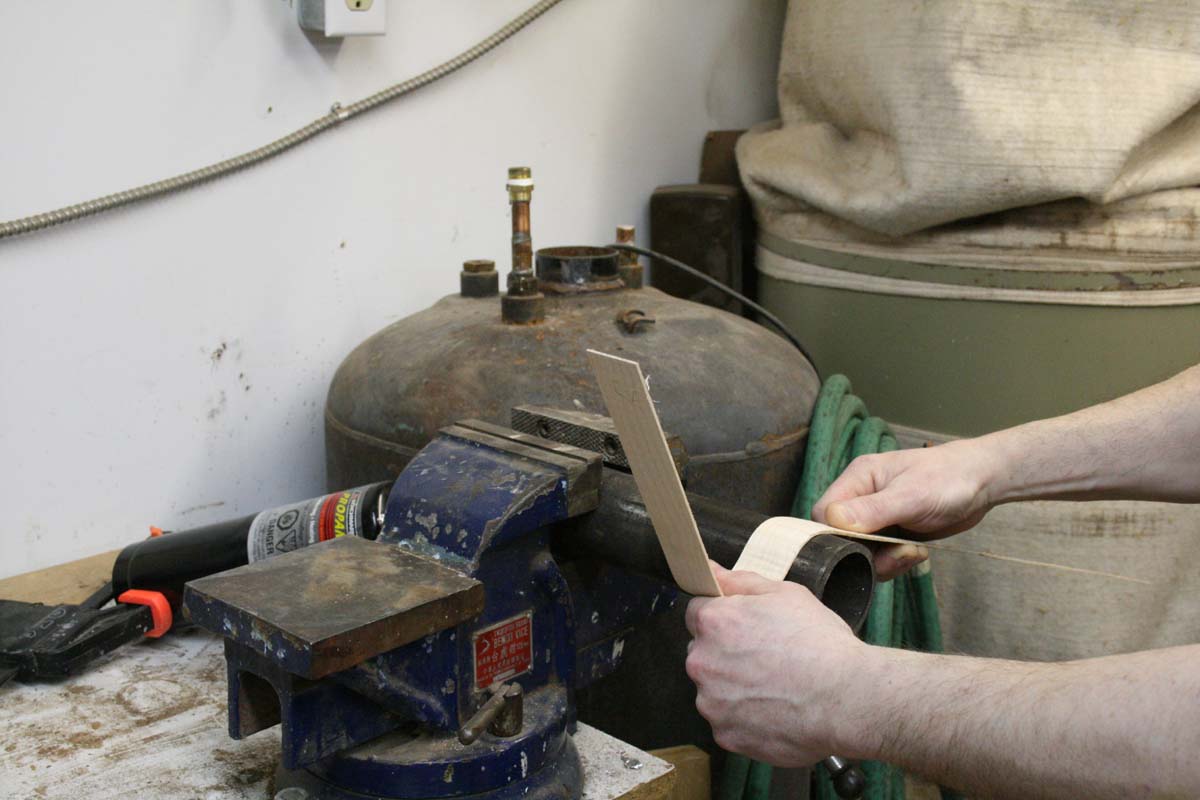
For a radius that is smaller than my pipe, I'll get it good and hot, and
apply pressure to hold the tighter radius while the rib cools. |
|
|
|
|
|
|
|
|
|
|
|
|
|
| |
|
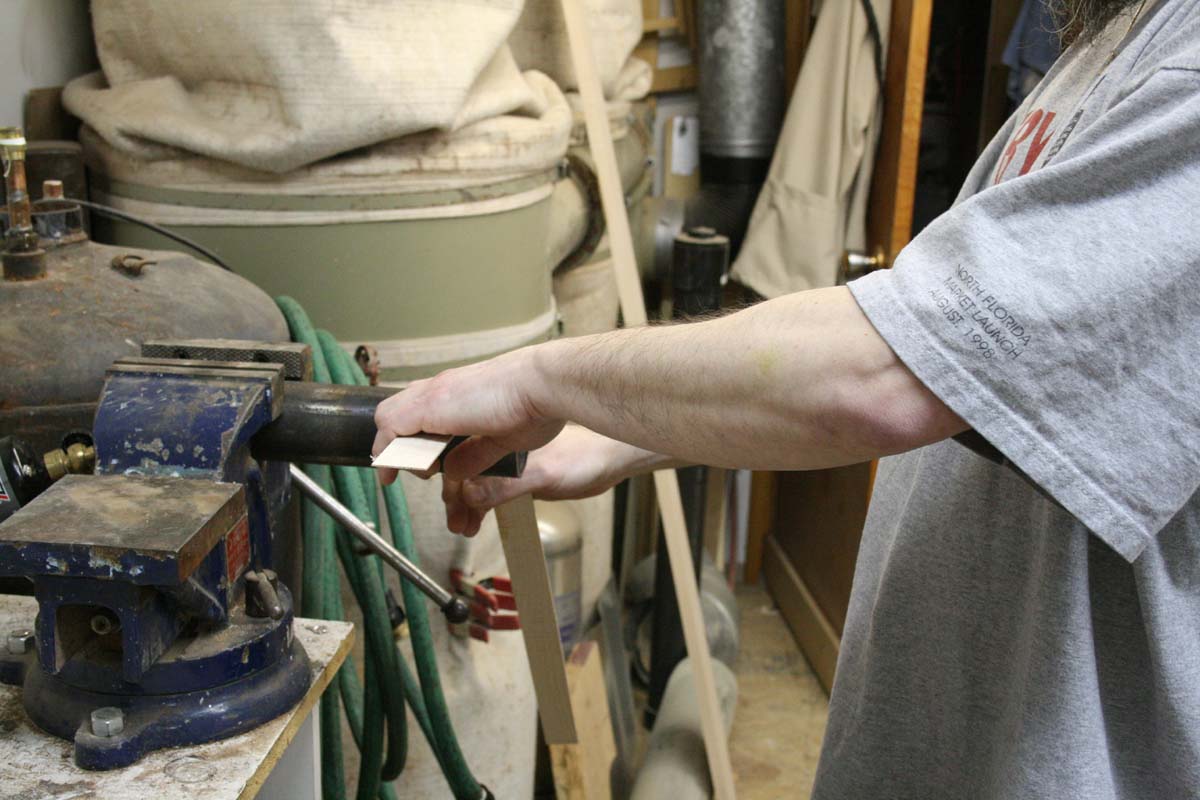
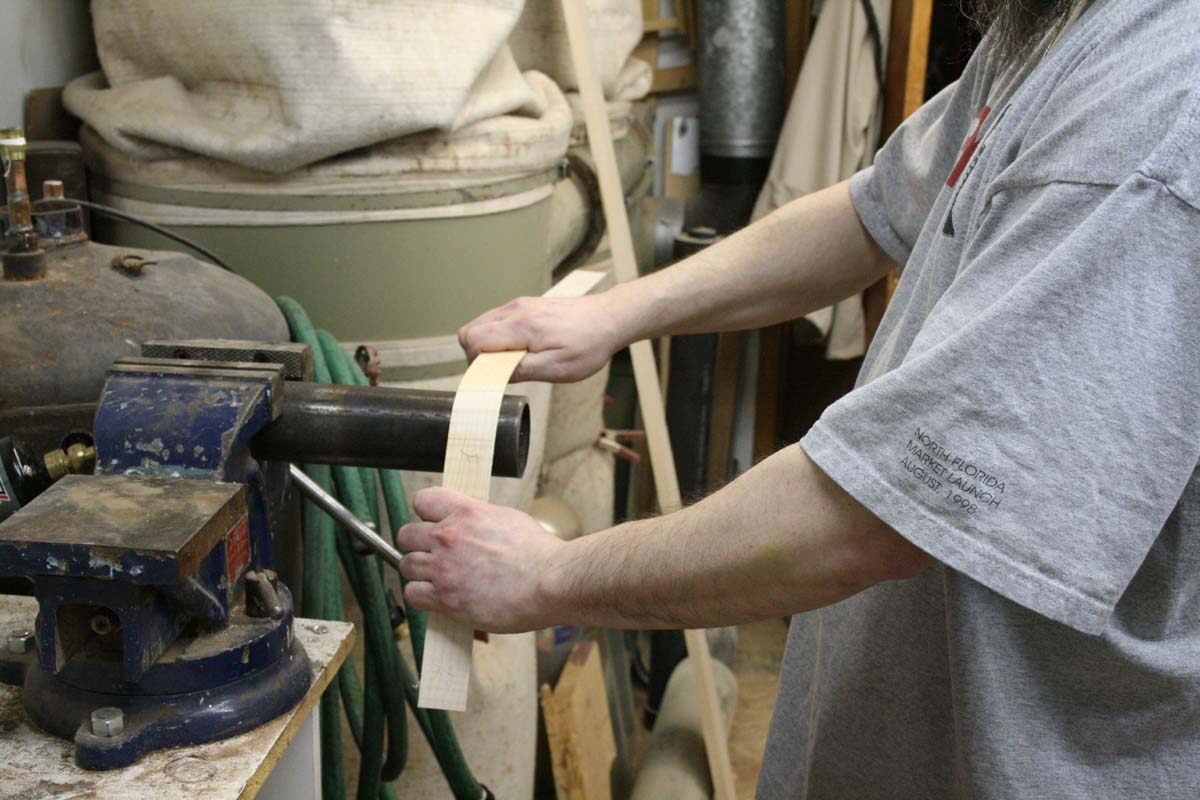
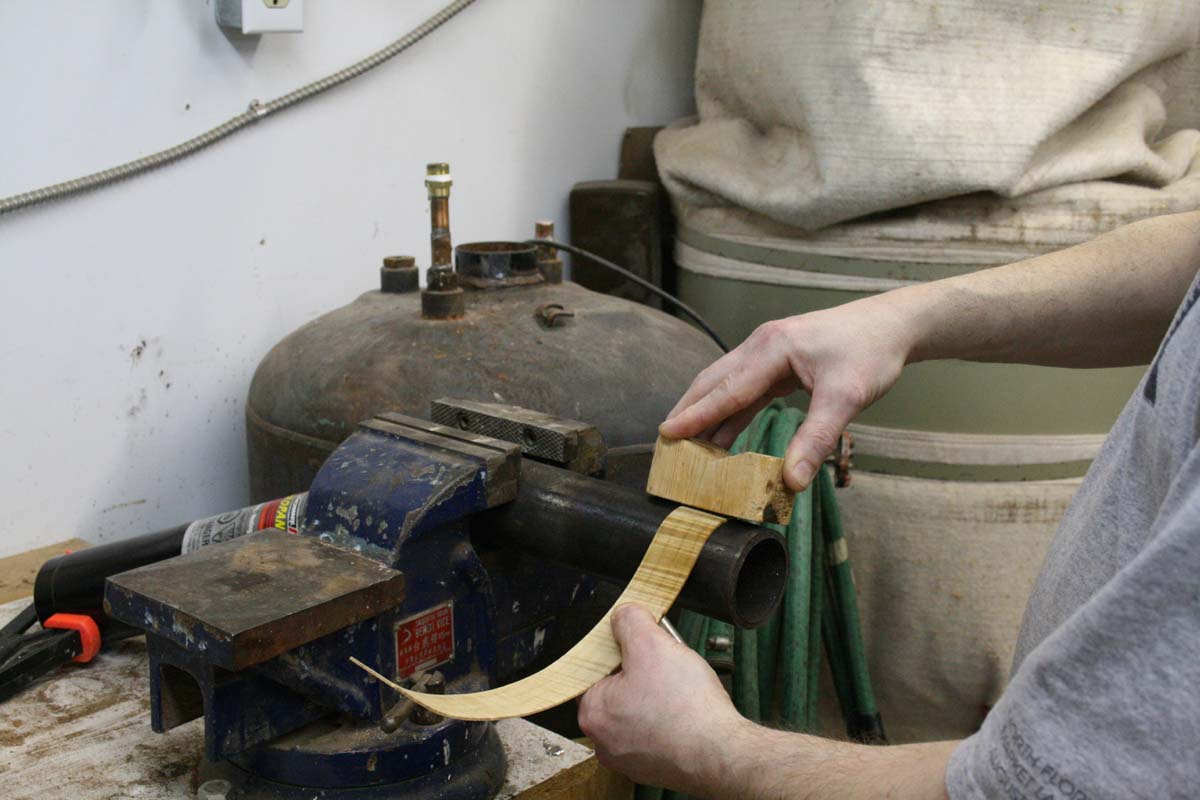
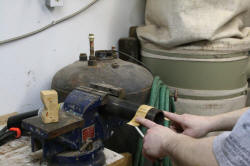
When I don't have extra rib length, I use a small block of wood to
support the end while starting the bend. |
|
 |

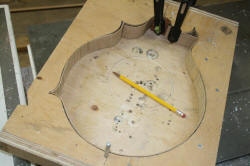
As always, check the fit, adjust as necessary... |
|
|
|
|
|
|
 |
|
 |
 |
|
|
|
| |
|
|
|
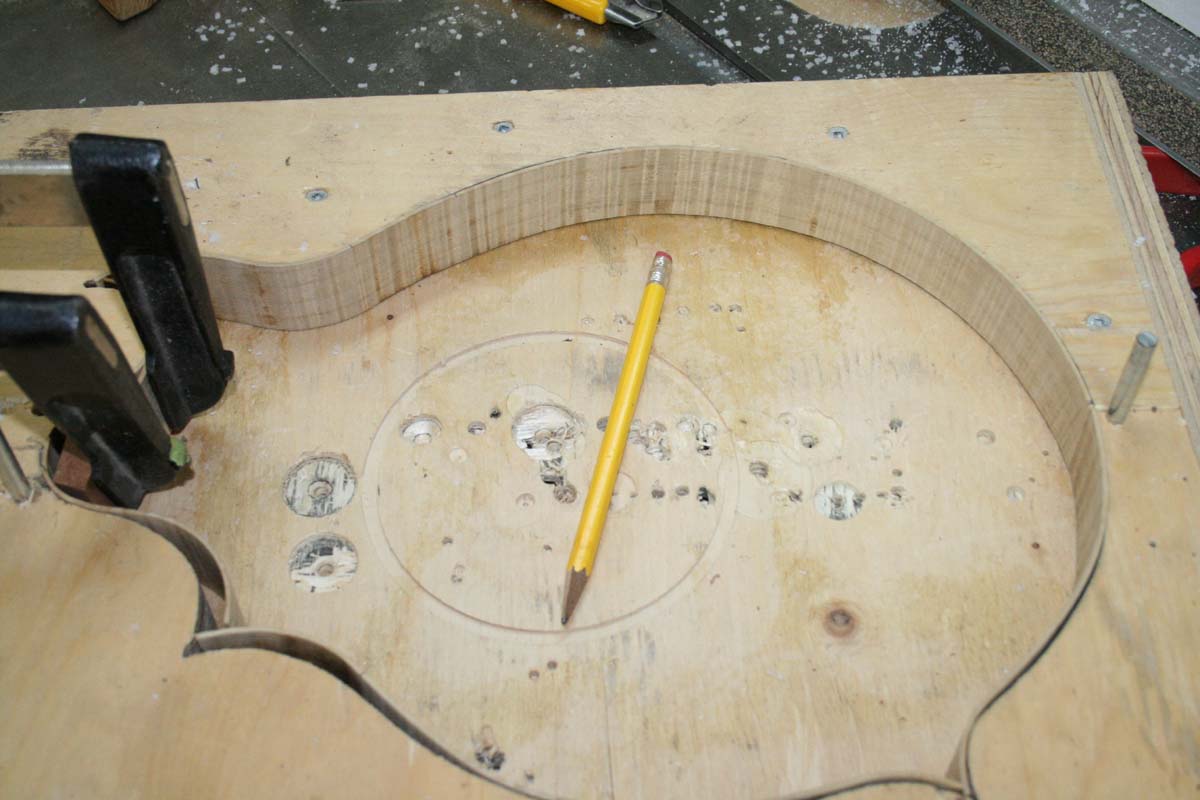
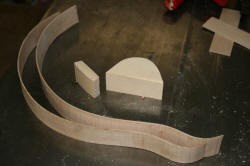
Here we have the A-5's ribs and blocks,
ready for gluing. |
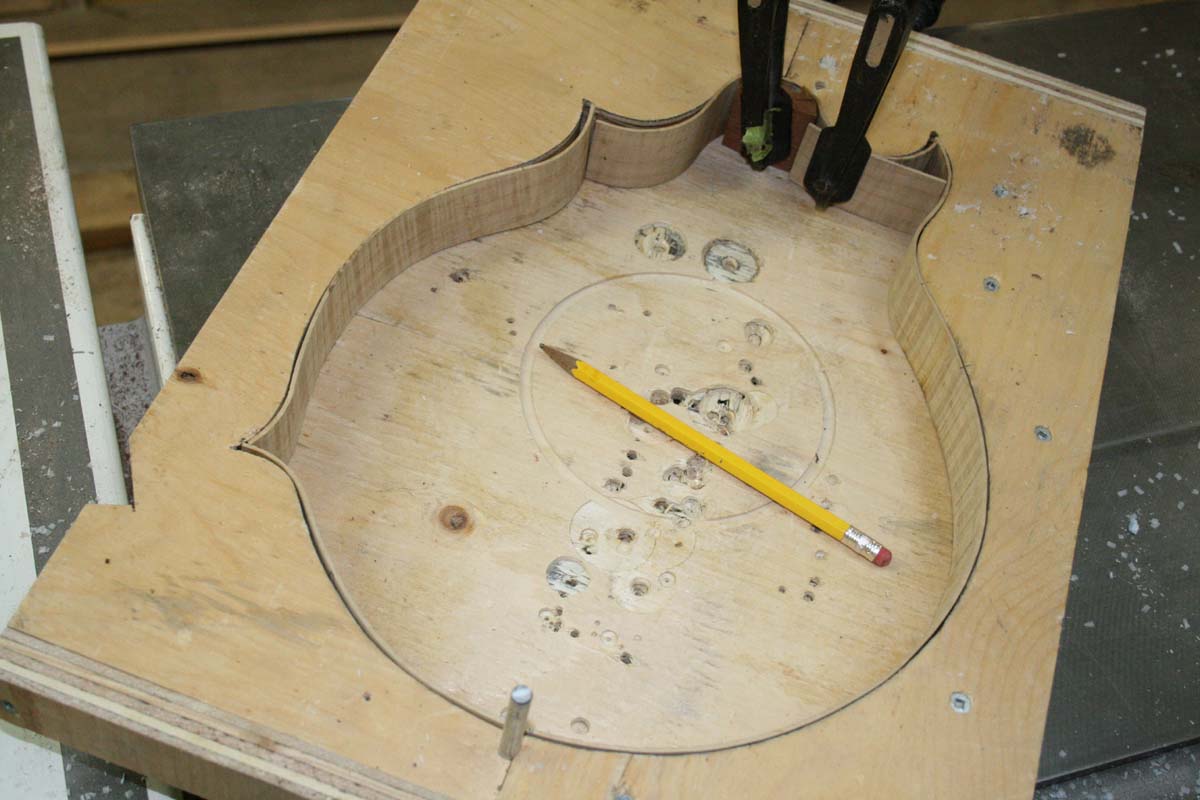
And here we have the J-5's ribs; a lot
more work went into these ribs! |
|
|
|