| |
|
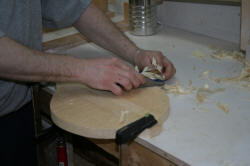
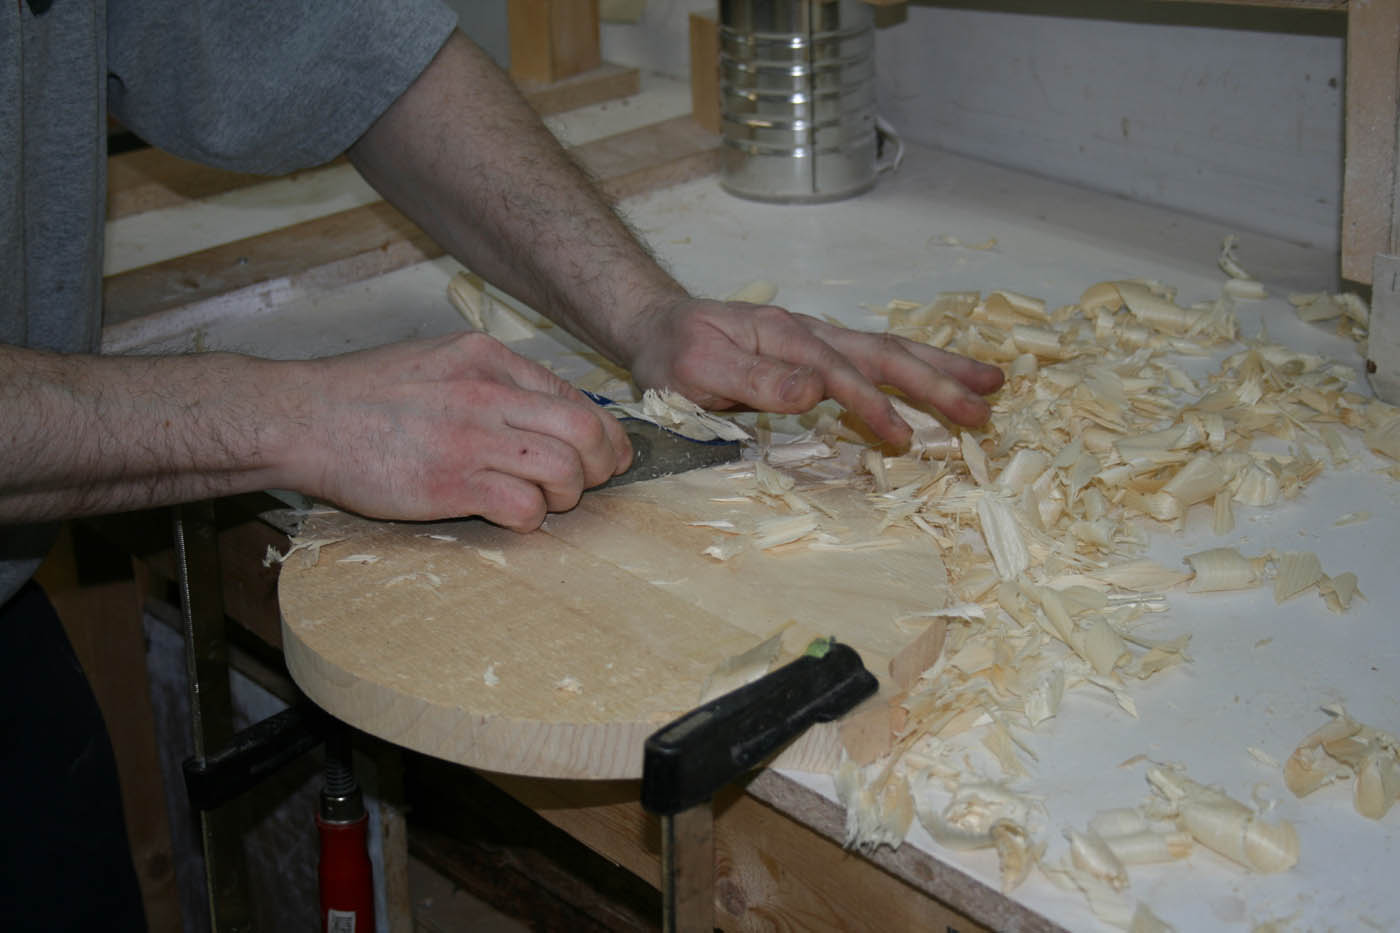
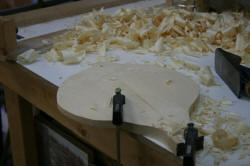
Okay, let's back up and carve something! |
|
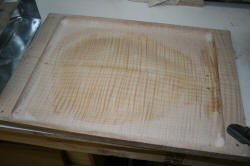
When carving by hand, I'll cut the plate to within 1/4" of its final
outline, then begin to cut down the edges with a low angle block plane. |
Working mostly cross-grain, this takes maybe 20 minutes in spruce. It
surprises everyone to see that a regular block plane can do 90% of the
outside carving! Only the recurve area needs the round bottom planes. |
|
|
|
|
|
|
 |
|
 |
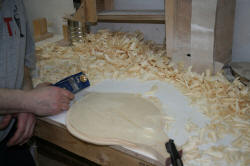
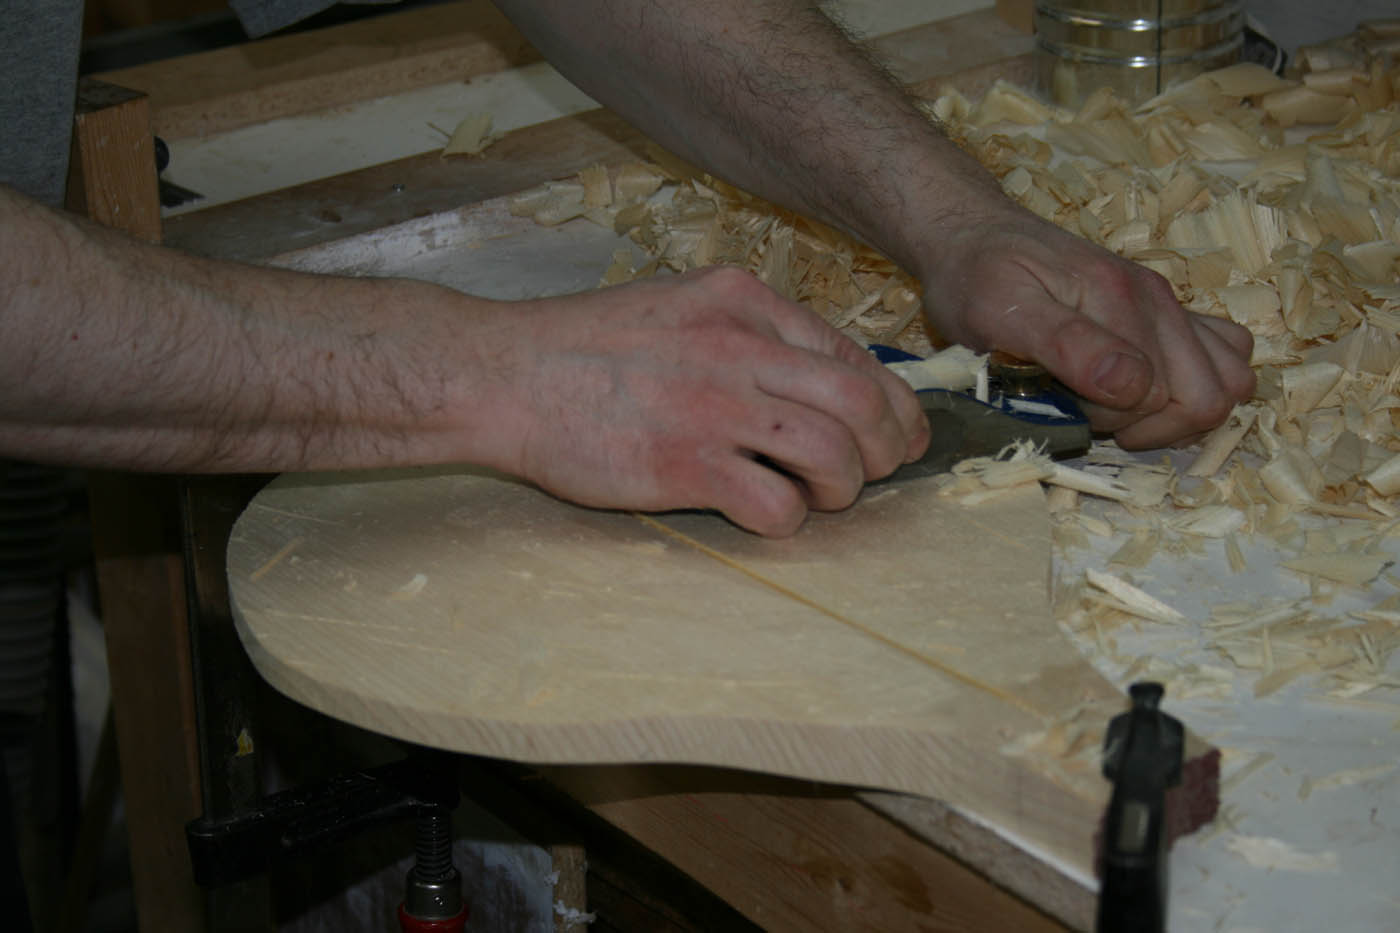
when getting close, we rout the ledge around the perimeter to set the
edge's thickness, then plane down to that., |
|
|
|
| |
|
 |
|
 |
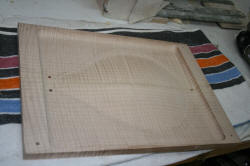
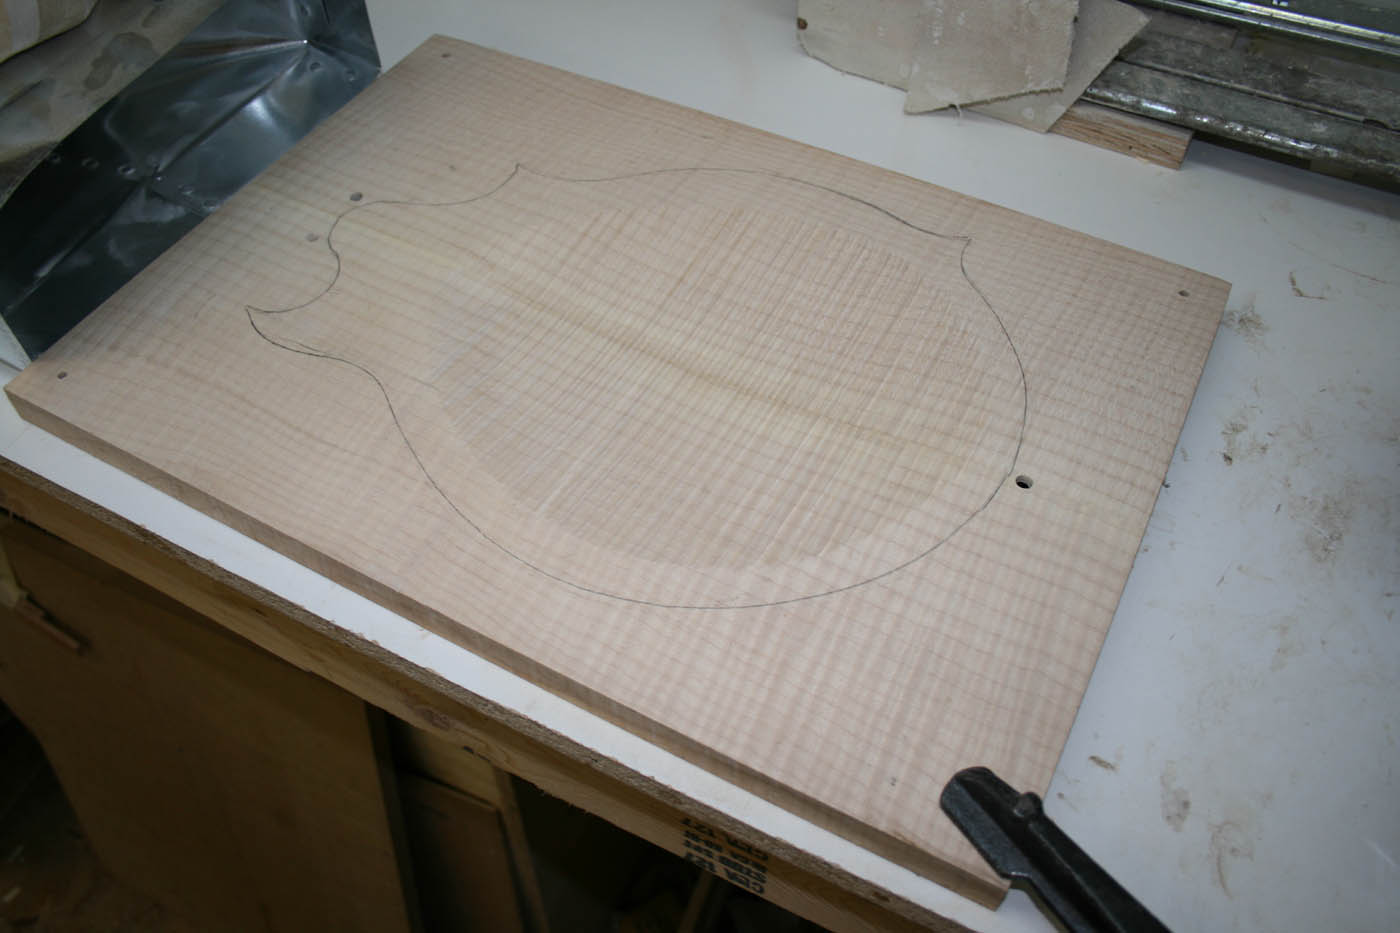
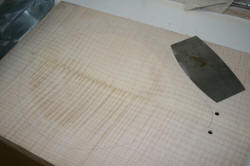
BUT! This is the year 2009, and we have electricity! <lol> A few years
ago, I met Steve Smith of Cumberland Acoustics (http://www.cumberlandacoustic.com/)
and found out he had a small CNC mill.I later sent him a hand carved top
and back, which he digitized, and now rough cuts my plates for me. I
send him the wood joined, with the location holes pre-drilled, and he
roughs them out and sends 'em back!. |
|
|
|
|
|
|
This is not only a time saver, but it produces a very accurate exterior
profile, which only needs to be sanded level. It gives me a accurate,
repeatable profile. |
|
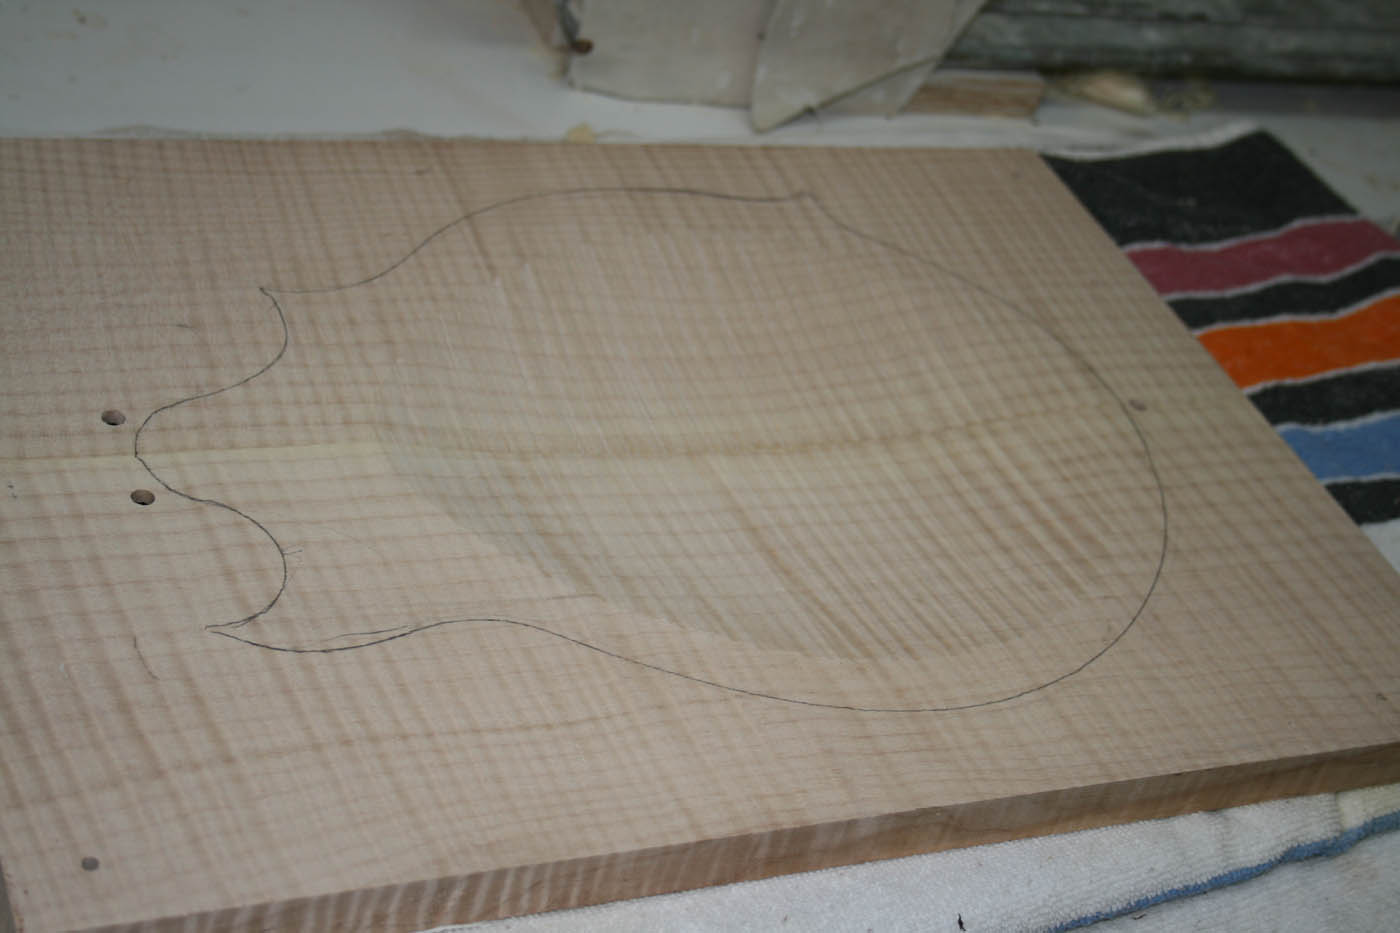
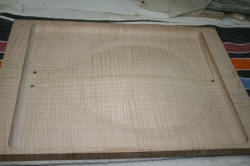
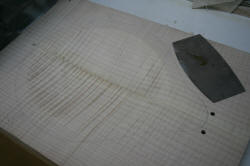
The interior, on the hand, he leaves quite rough, and not milled
anywhere close to final specs, allowing me to graduate and "voice" each
plate to what I want, need. In other words, there's enough "meat" left
in the plates to allow for careful hand work and voicing. |
 |
|
|
|
| |
|

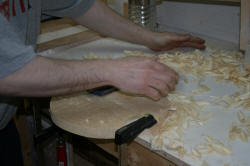
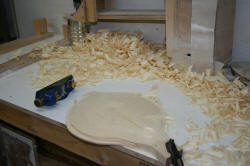
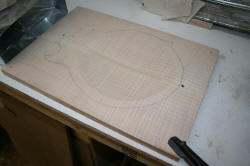
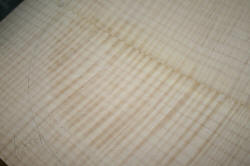
I do nearly all the exterior sanding with a 6" orbital, beginning at 180
grit to know down all the peaks left by the milling process, then upward
until 320 grit. |
|
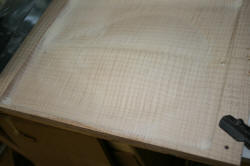 |
After the 320 grit sanding, I'll rub on some alcohol to look for
imperfections, and to raise the grain. If there are any bumps, dings or
scratches, they'll show up now. Once all is good, I'll raise the grain a
few more times and sand with 320 in between each raising. |
|
|
|
|
|
|
|
|
|
|
|
|
|
| |
|
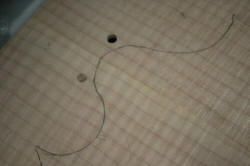
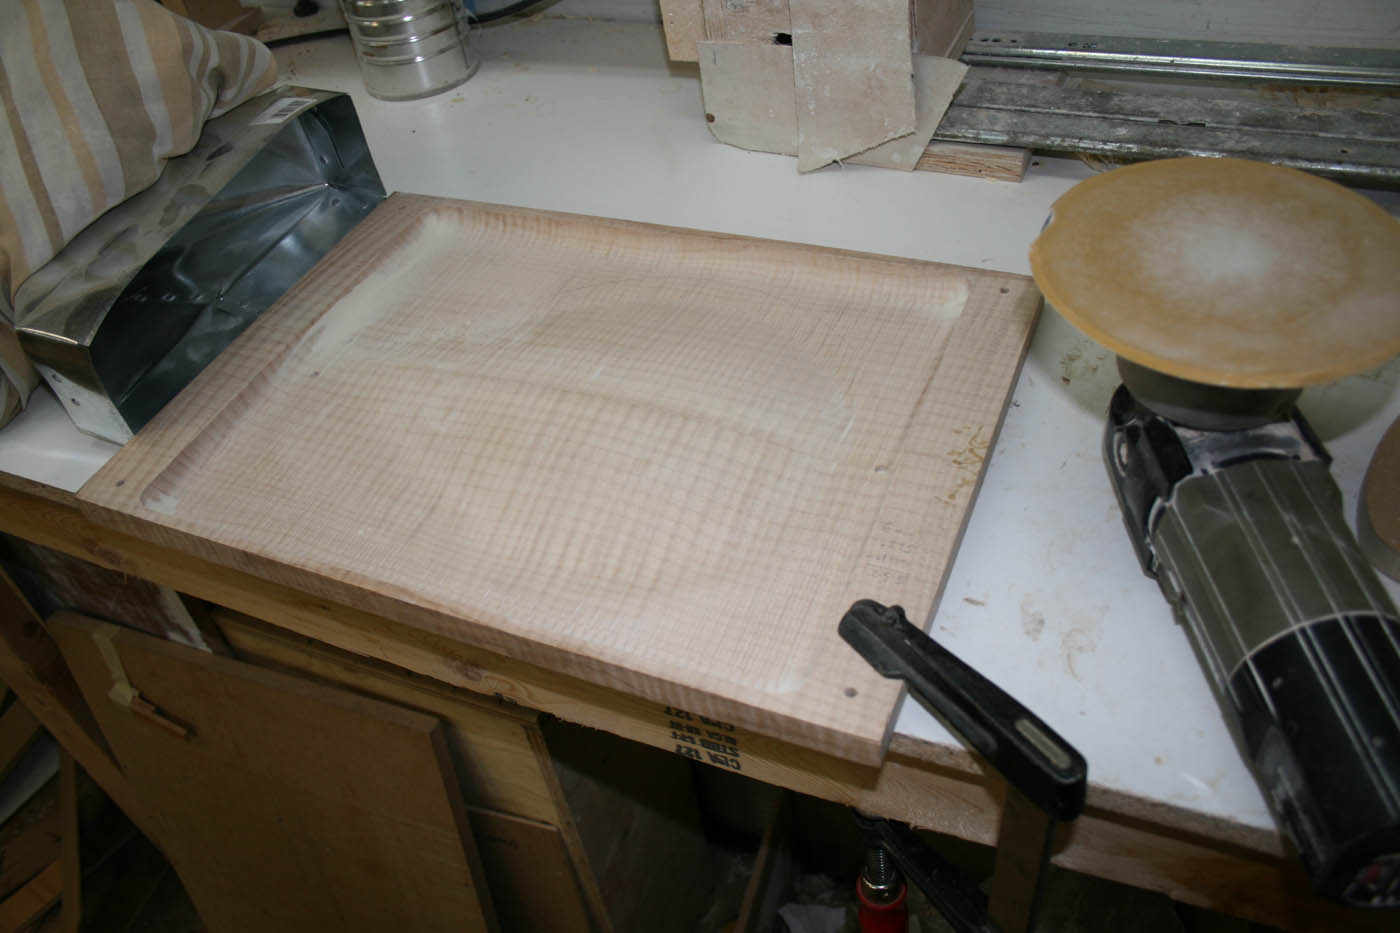
Tip: To hold the plates to my bench, I have a 1/4" wood dowel set in the
bench, and place the plate onto it; at the other end, and simple clamp
holds the plate down. |
|
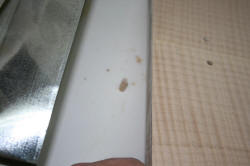
See? Simple, but effective. On the left is the metal dust chut connected
to a large, 3HP dust collector. |
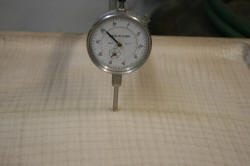
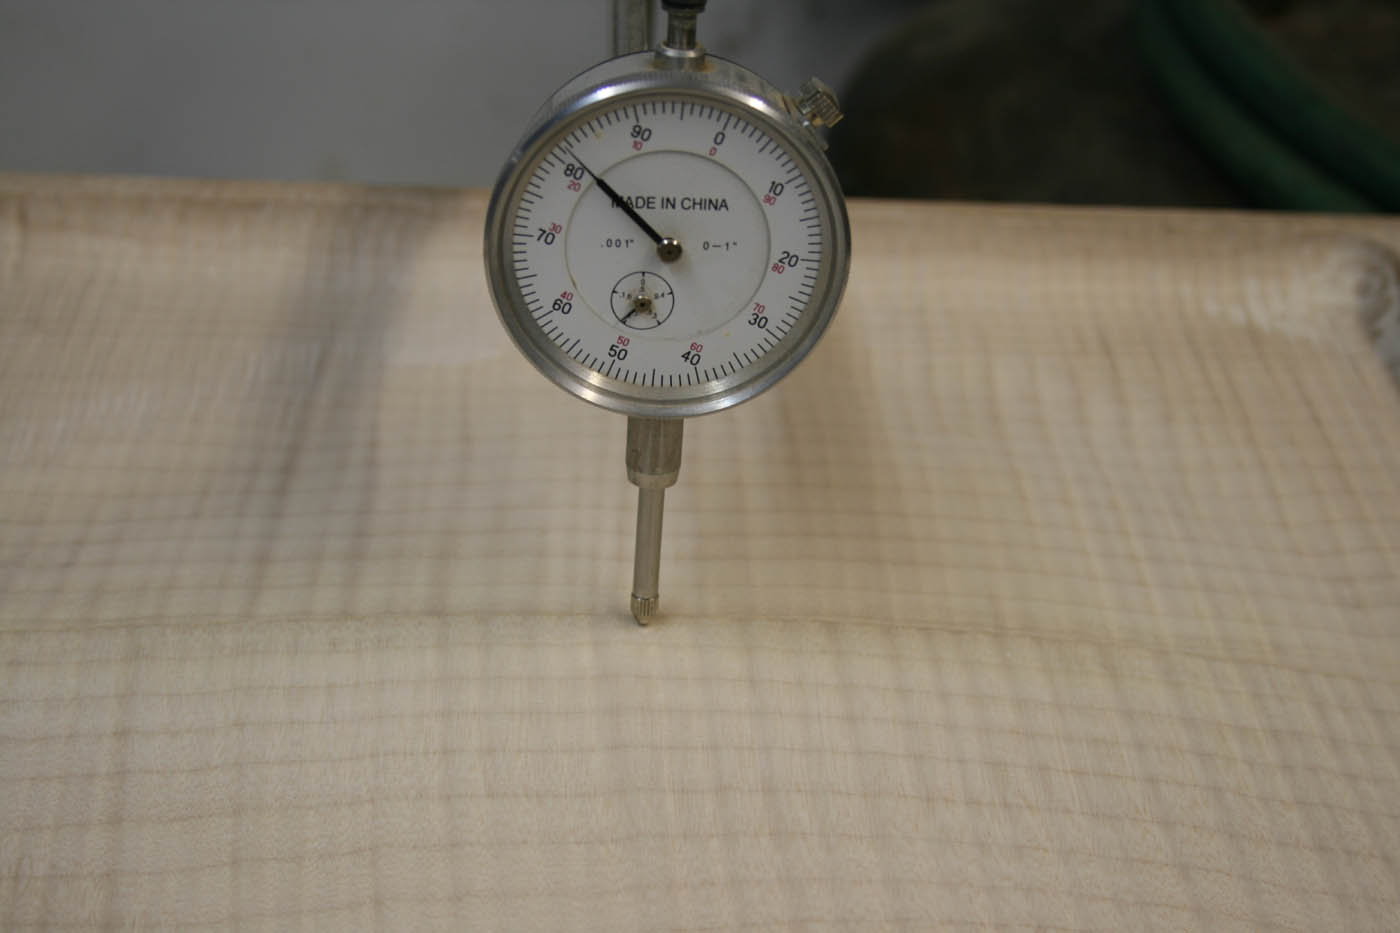
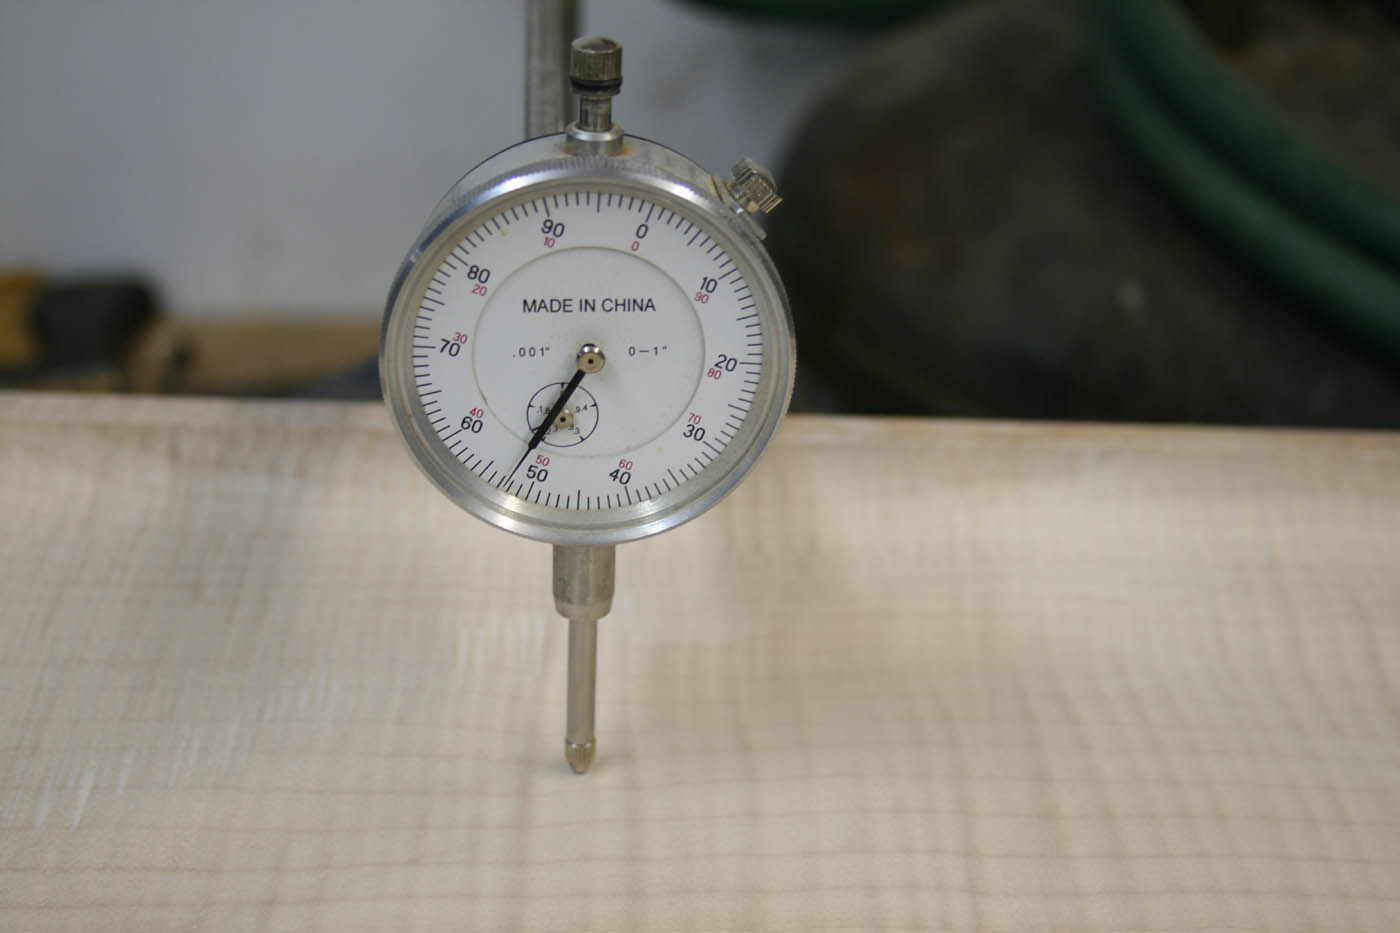
Okay, once I think I'm getting close, I'll check the plate with my dial
indicator thingie, actually built by my brother, Ron, when he made his
first, and only, mandolin; his was nicer than mine, so I permanently
borrowed it <wink> |
|
|
|
|
|
|
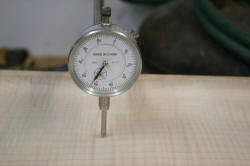
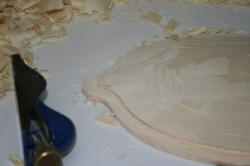
A nice, gradual decrease in thickness as we approach the recurve... |
|
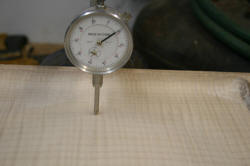
..and bingo, the recurve. |

Oh, and here's where we started out; Steve left me roughly .030" to
.040" to work with. Sweet! |
|
|
|
| |
|
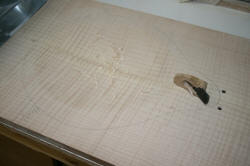
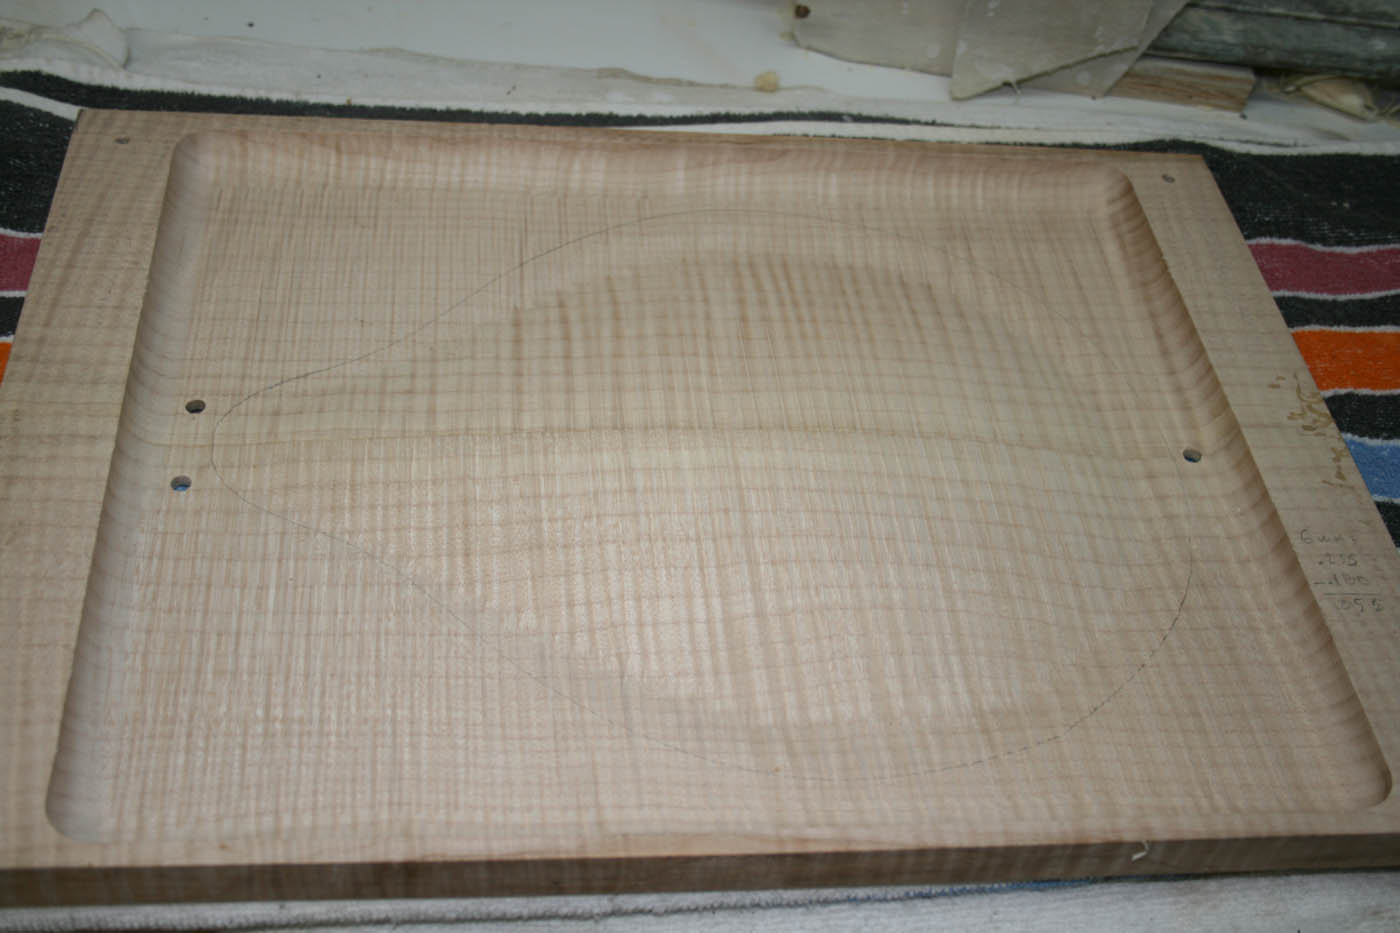
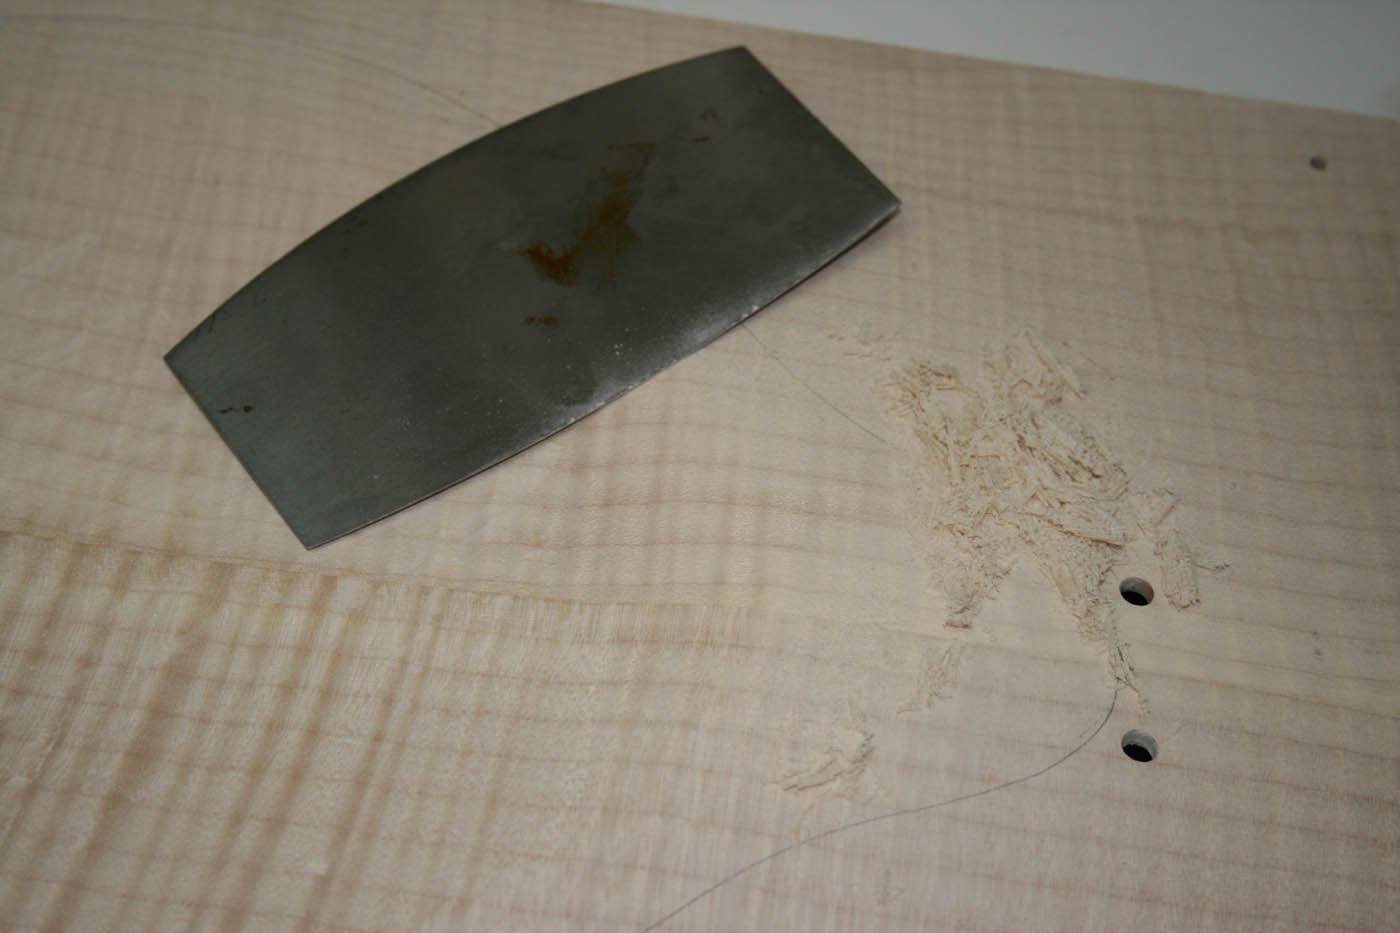
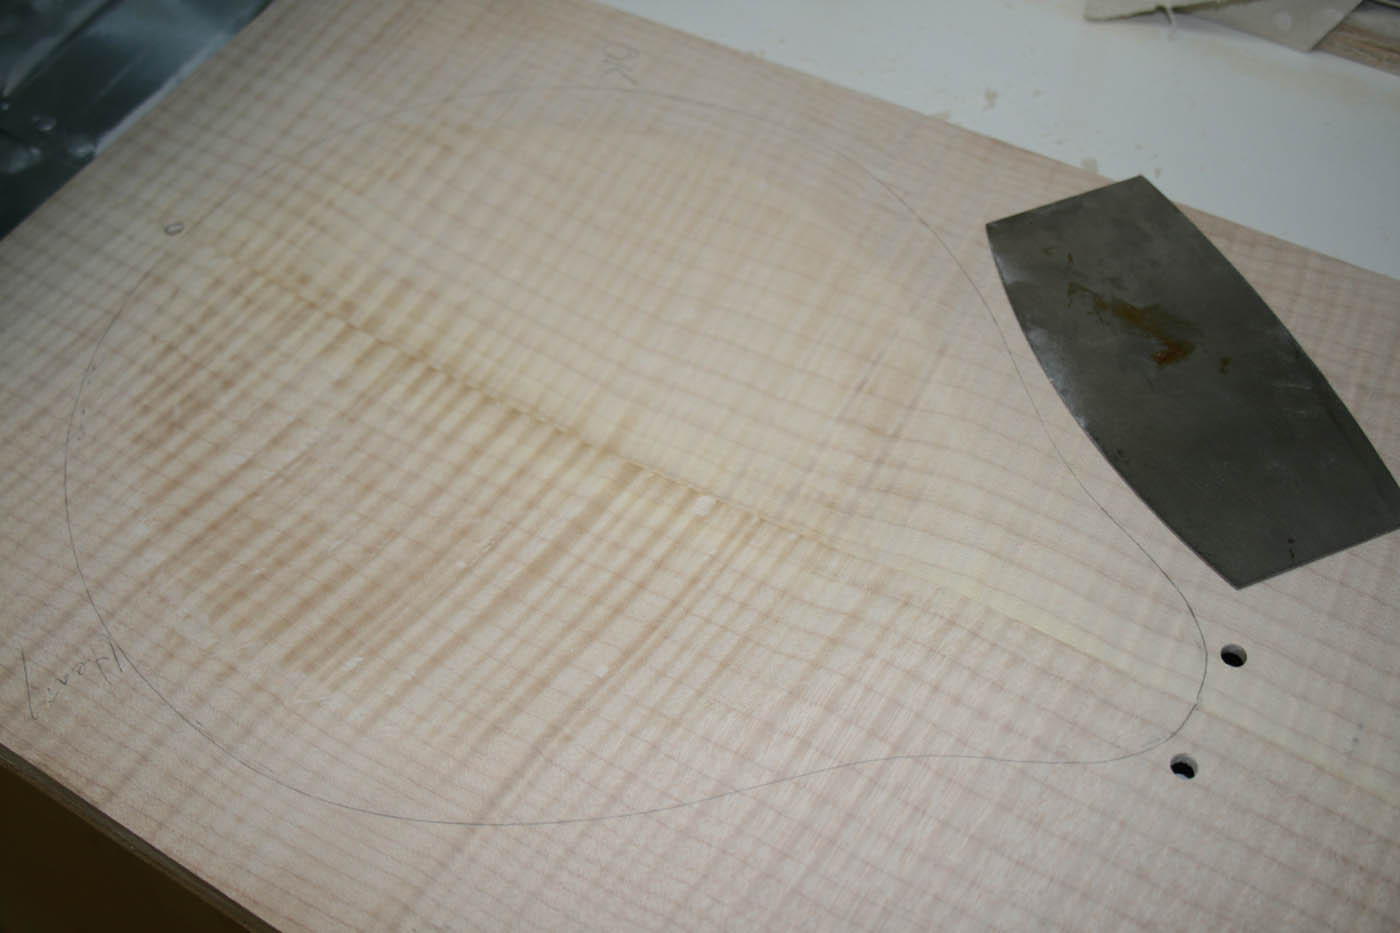
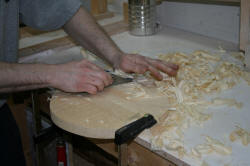
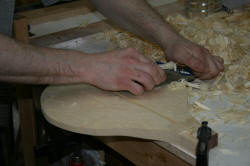
All of the graduating is done from the interior; I'll mark areas after
measuring, and work them with small planes. |
|
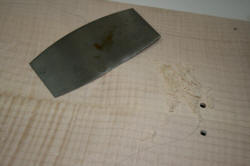
Once close, I'll put away the planes, and switch to scrapers. |
 |
|
|
|
|
|
|

Steve has my blessings to carve anyone's plates to my pattern, here; if
you're thinking of trying CNC'd plates, or simply want to put together a
"kit" using your own woods, instead of buying one pre-made, give him a
call at:
Phone: (615) 826-7890
toll free: (877) 857-4896!
We did all the hard work for you. I make A style and my J style
mandolins for the same carvings, but not an F style. |
|
 |
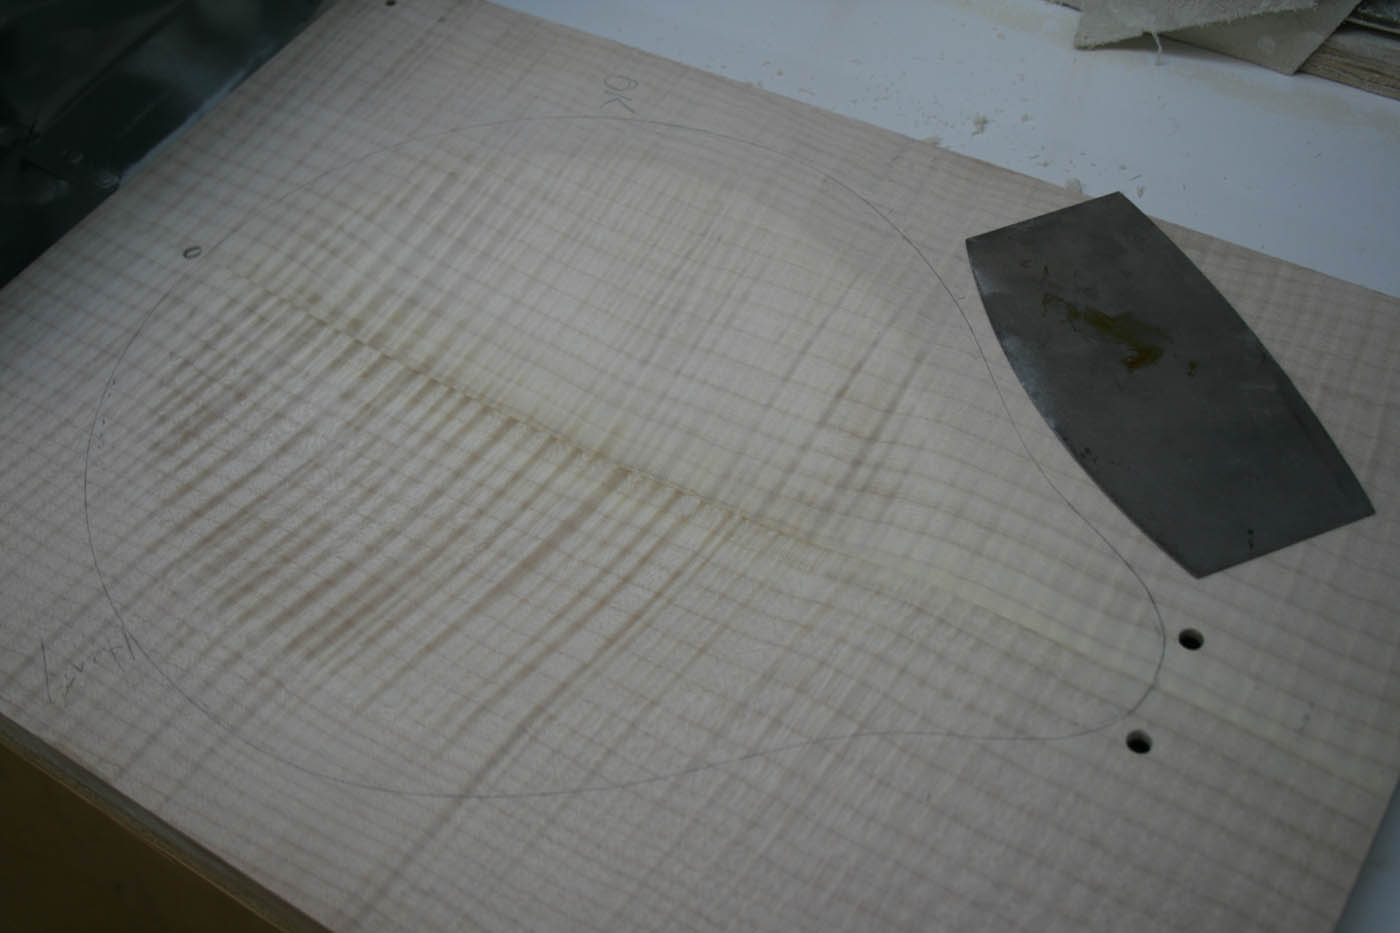
Scraping leaves a finer surface than sanding does, and will give the
interior a nice "glow". That's it; the spruce top is done the same way,
but Steve leaves those even thicker so I have more room to voice and
graduate, but I thought the maple would show better in photos, and
that's why we've been going "backwards" in this series.
|
|
|
|
|
|
|
|
|
|
|
|
|
|
|
|
|
|
|
|