| |
|

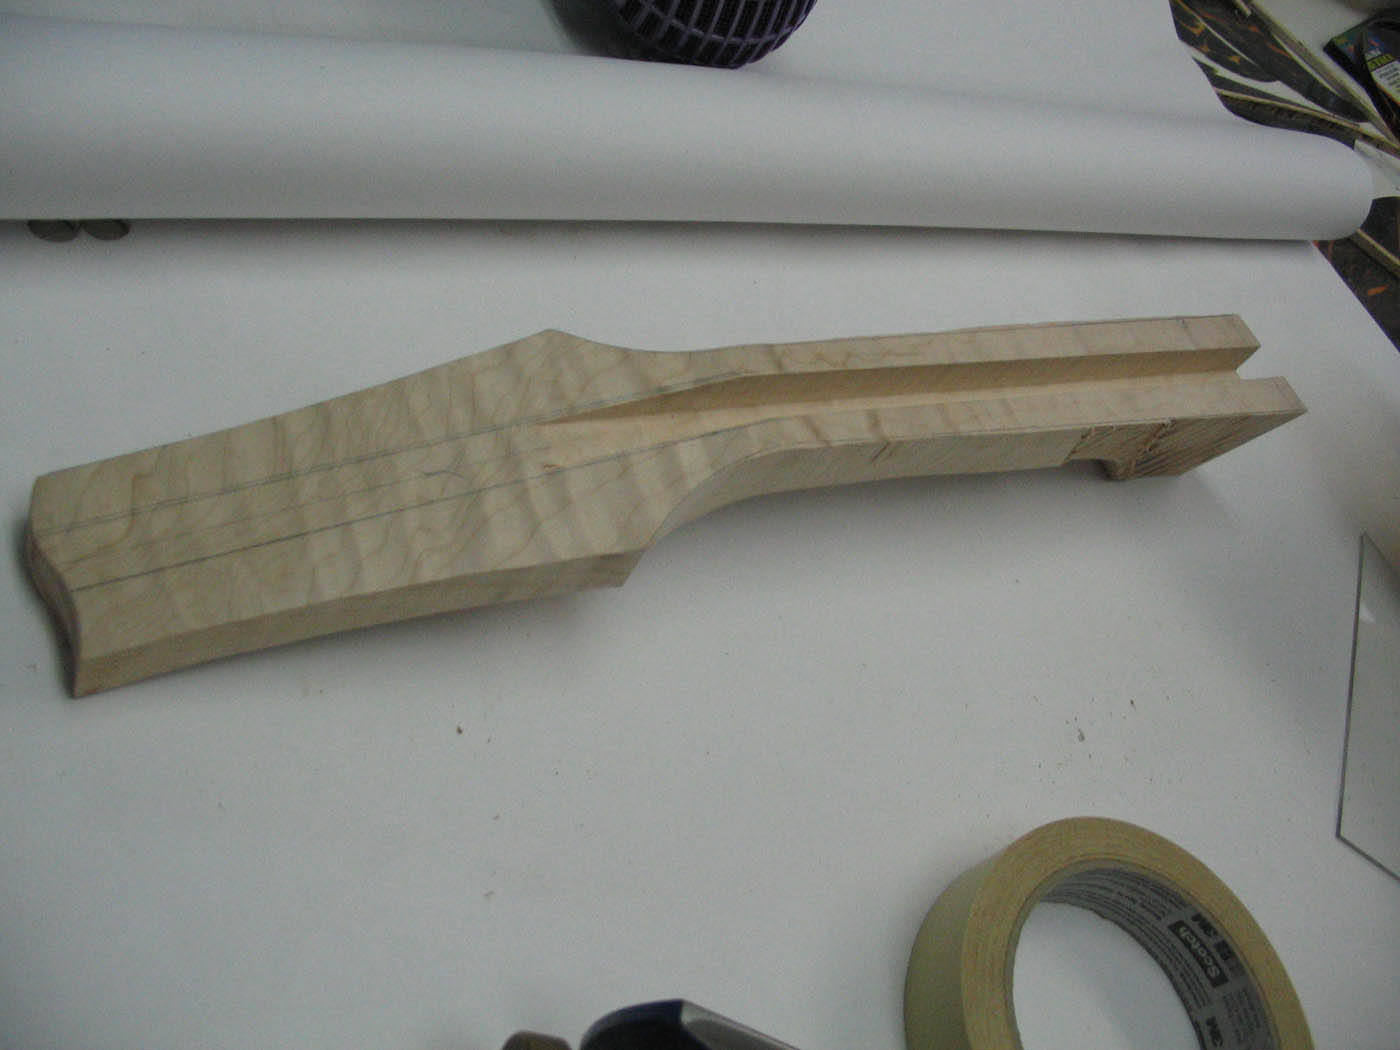
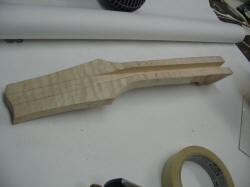
The truss rod slot cut, and capped at the headstock. I've been using
thin-wall, square steel tubes for all my mandolins for a good many
years, with great success. Lightweight, solid and non-adjustable, they
hold the neck dead straight forever. |
|
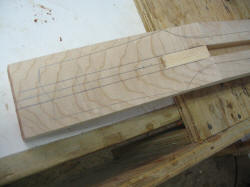
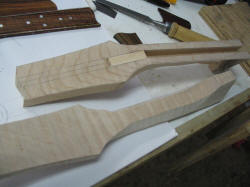
The headstock shape, and fretboard tapers are drawn |

I use a pinned mortise and tenon joint for the mandolins; one side of
the neck is done on the table saw, as above, while the other side is
done on the bandsaw. Each saw tilts opposite one another, so I get both
cuts done safely and accurately. |
|
|
|
|
|
|
|
|
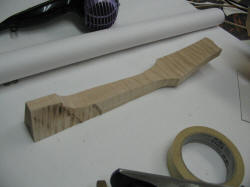
After the joint end is done, the rest of the neck gets rough bandsawn |
This one is Sam's |
|
|
|
| |
|
 |
|
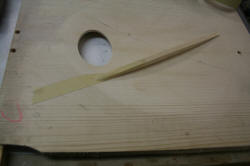
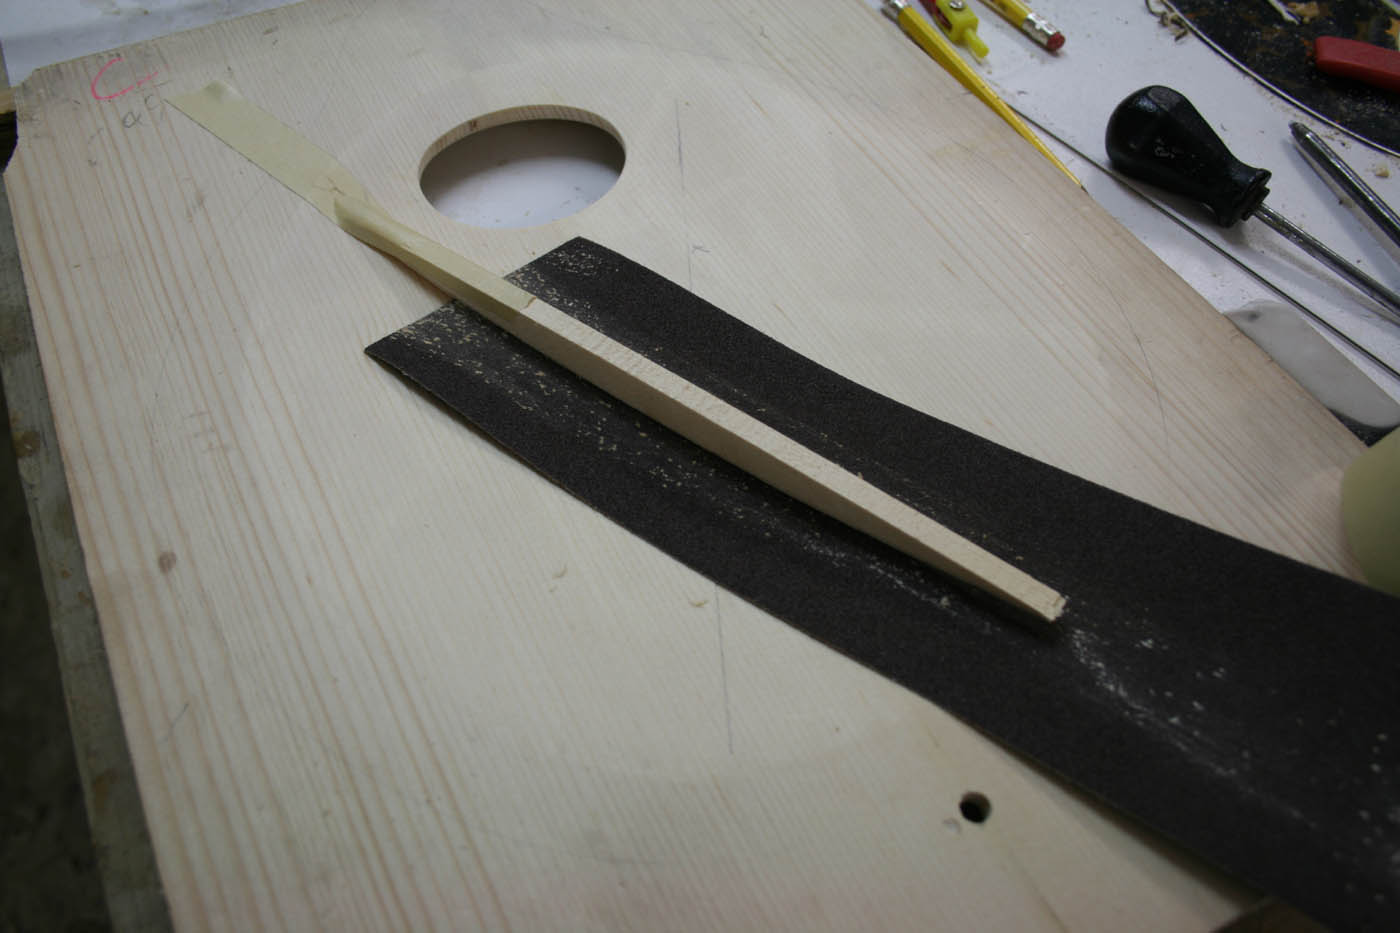
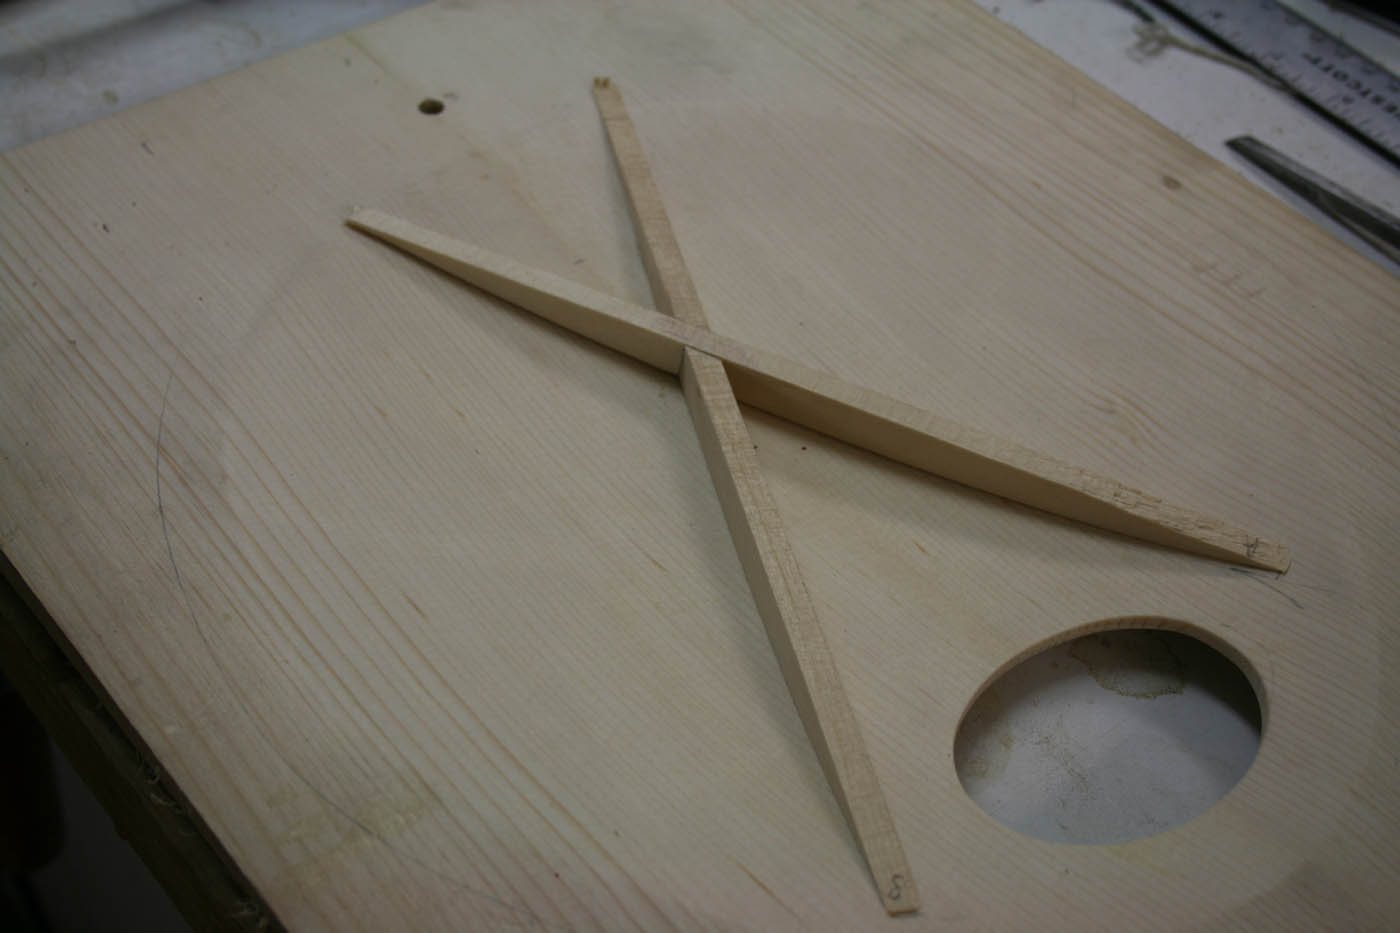
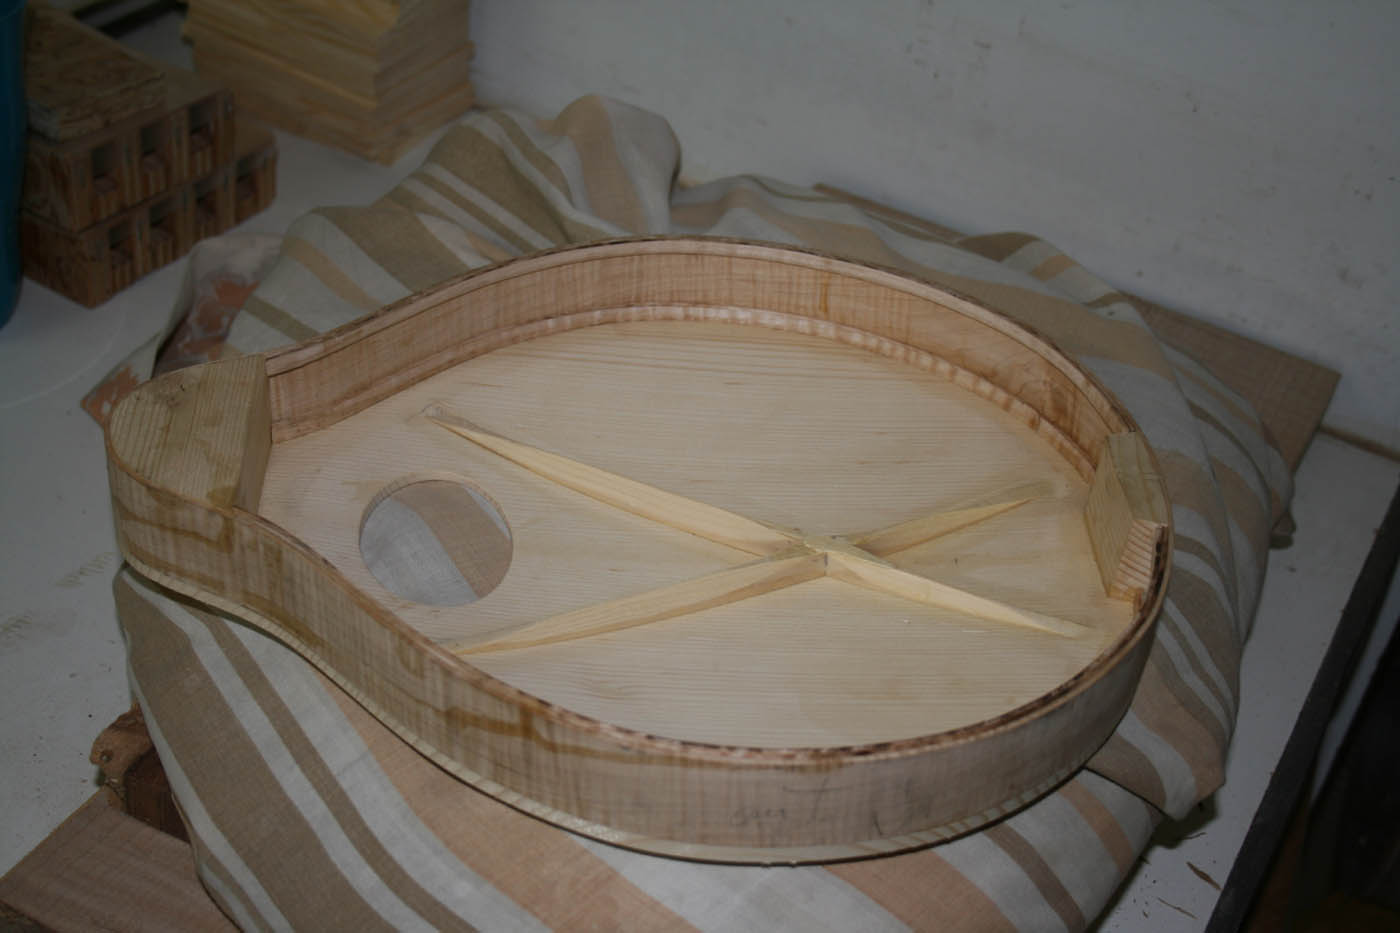
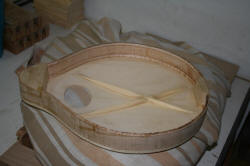
Back at the ranch..., the top is carved and ready for tone bars or, in
thi8s case, X bracing. Oh yeah, by the way, I decided to do a oval
soundhole and X bracing, so this mandolin will be a A-52 and not an A-5 |
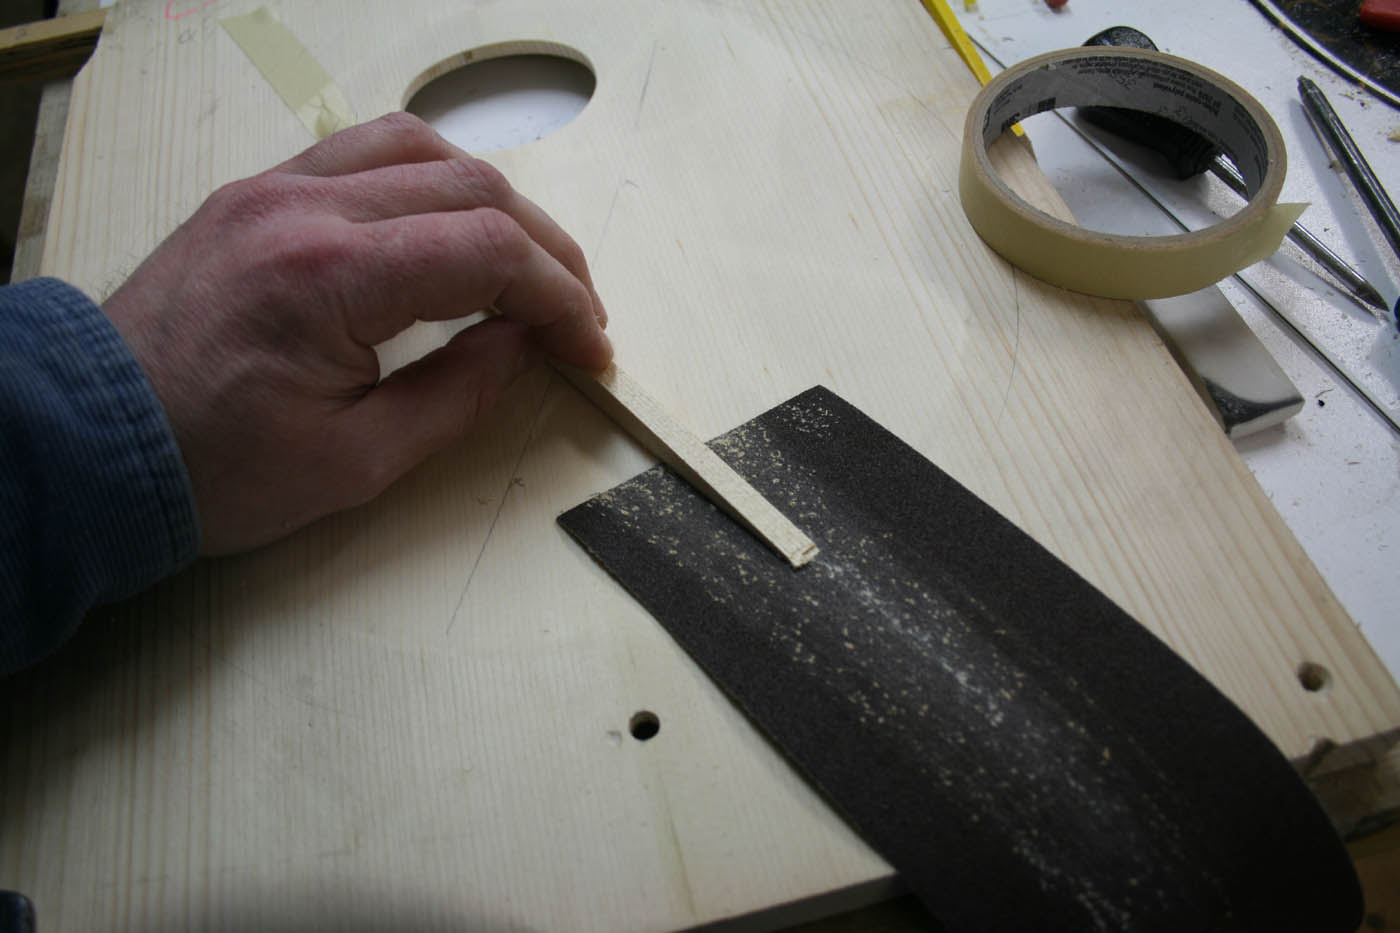
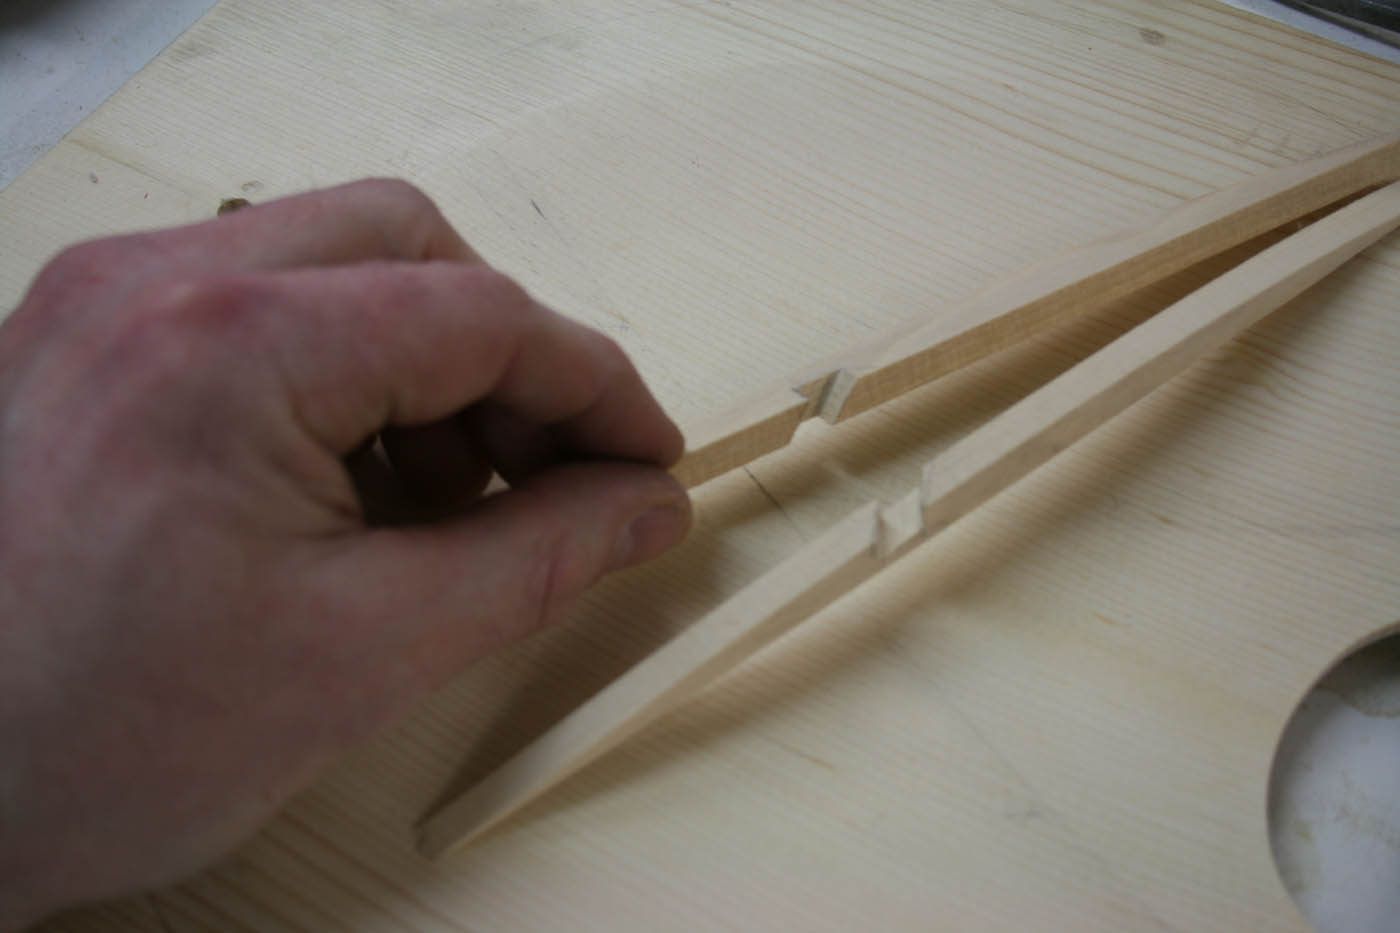
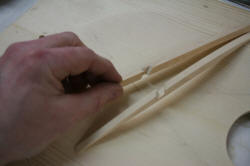
As seen opposite, I tape one end of the rough shaped brace, and now
slide a piece of cloth backed sandpaper under it, and will pull it until
the brace almost fits, then tape the other end, and repeat. |
|
|
|
|
|
|

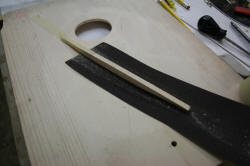
Once the brace fits nicely, I'll go up in grit sized to 320 |
|

Sweet! A "tight" X brace spread like this one acts more like tone bars
and less like the old style oval mandolins with the single transverse
brace. A wider spread would be closer to the traditional tone, but I'm
going for some Bluegrass "bark" in this one. |
The lap joint... |
|
|
|
| |
|
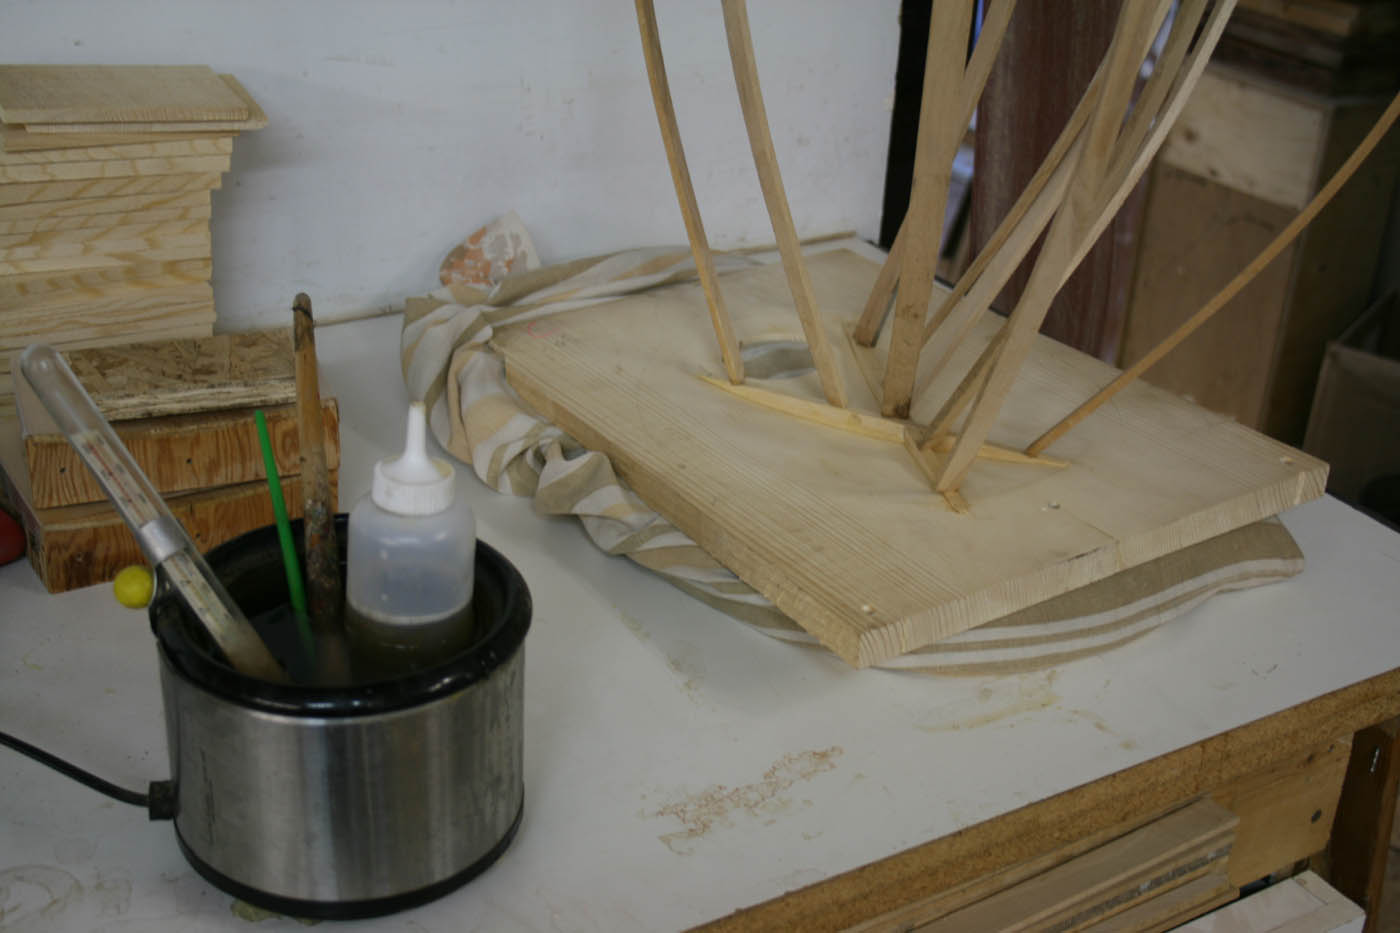
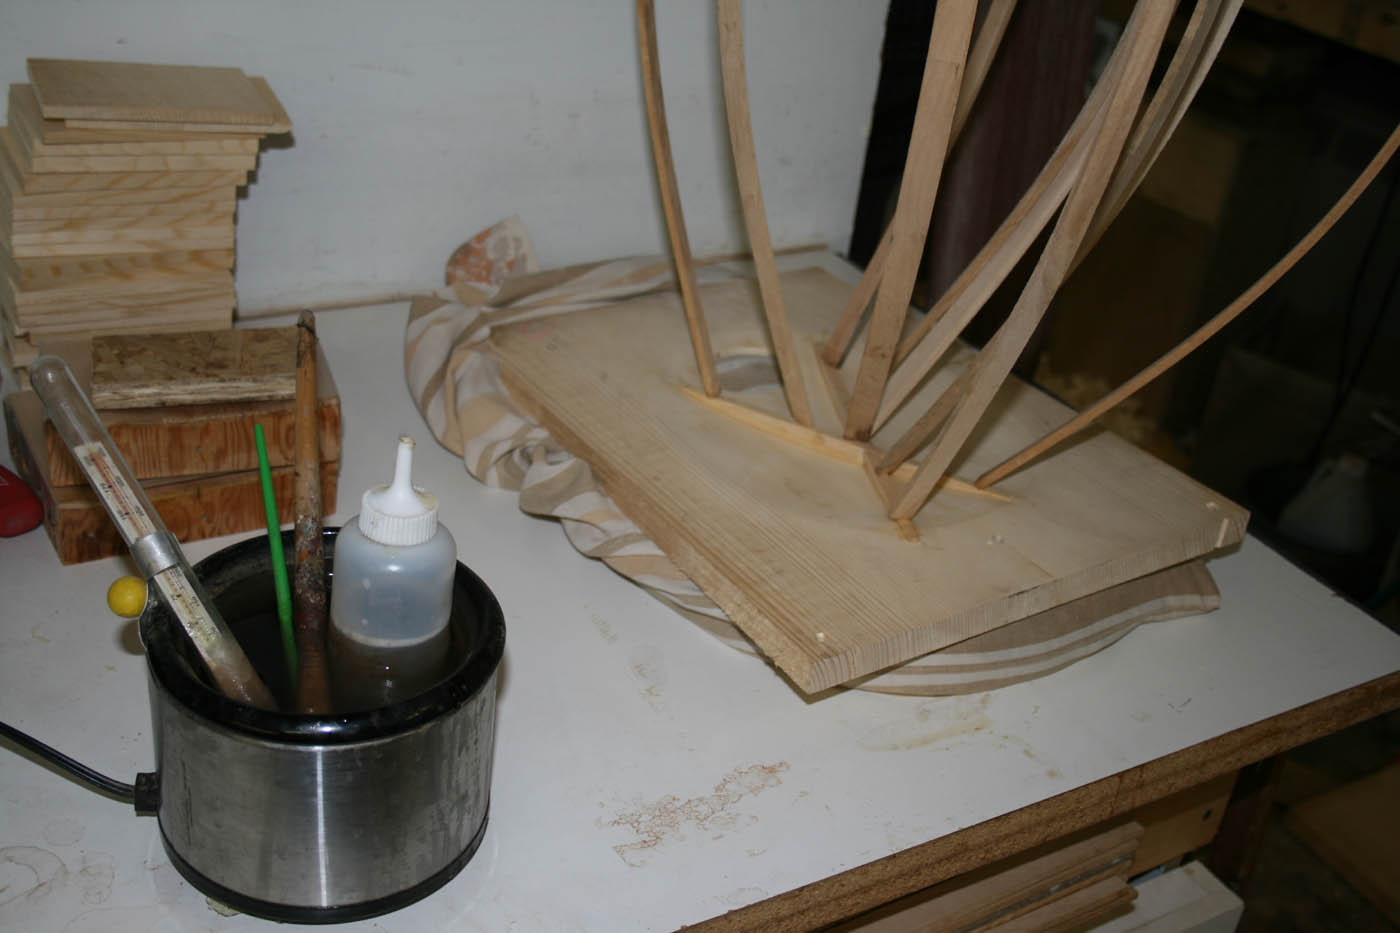
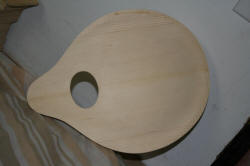
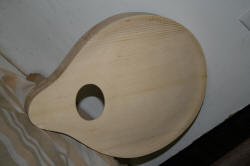
The top is placed in a snadbag, rubbed around until cradled perfectly. |
|
 |
Much cleaning up to do... |
|
|
|
|
|
|
|
|
|
|
|
|
|
| |
|
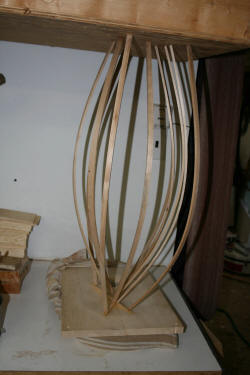
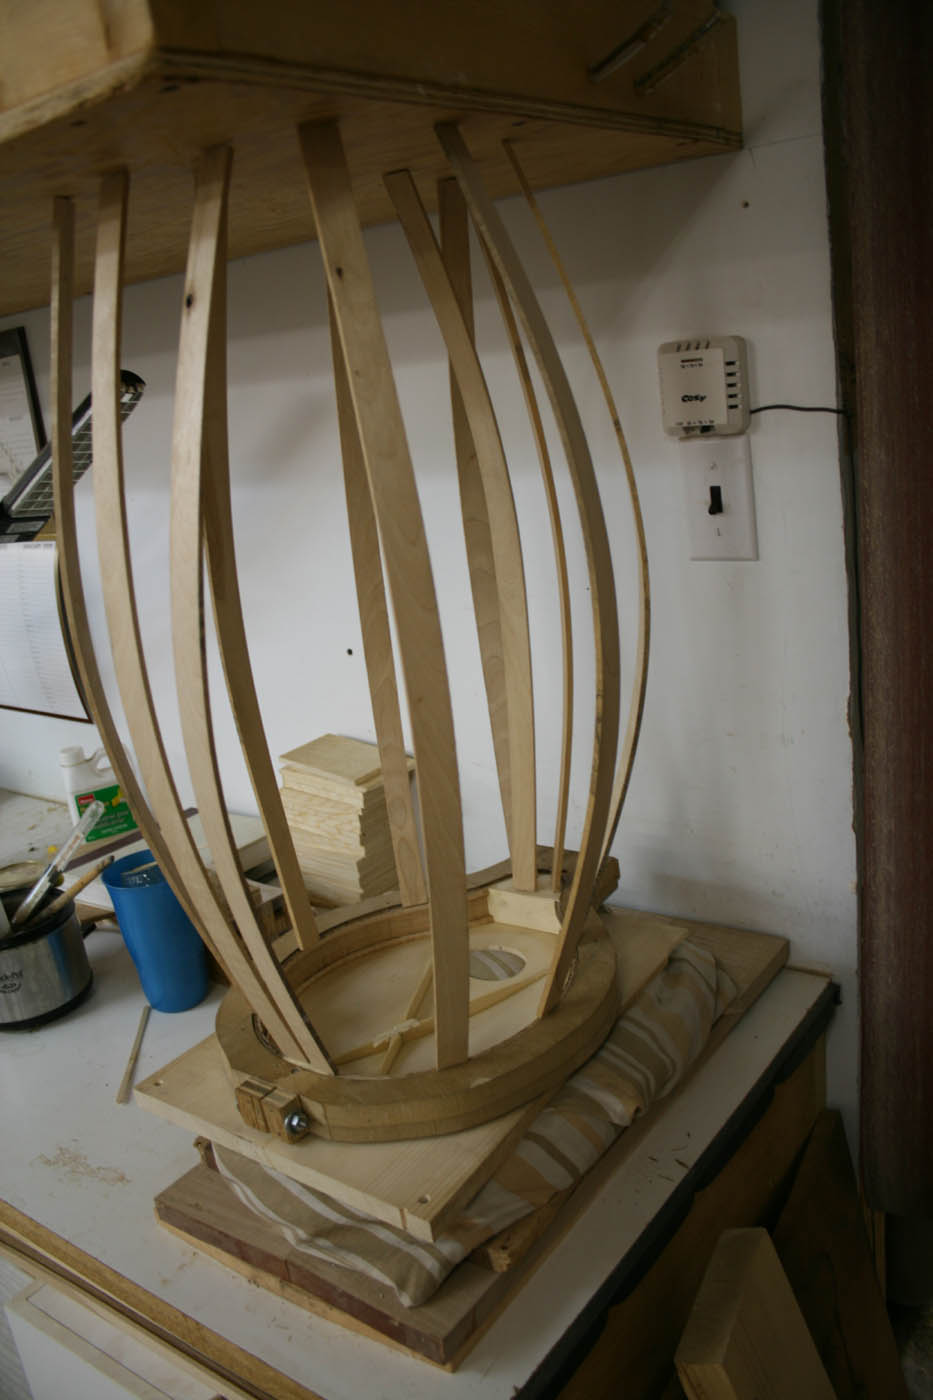
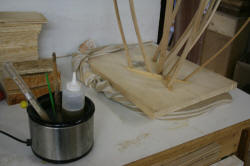
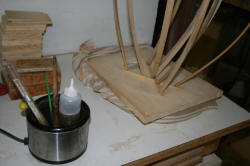
Because we can never have too many shots of the ever artistic go bar
deck! |
|
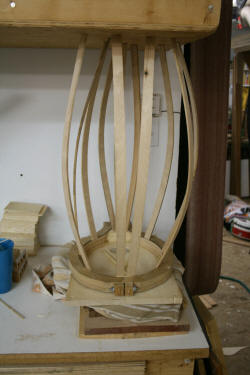
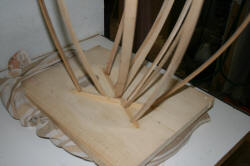
The top and sides are joined together using the same sandbag, and some
shorter go bars. |
 |
|
|
|
|
|
|
 |
|
 |
 |
|
|
|
| |
|
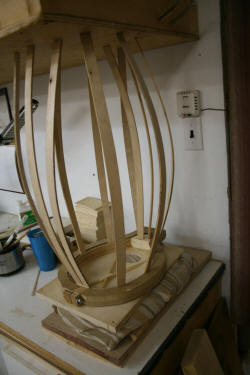
Nice? Messy at this point, but nice! |
|
|
|
|
|
|
|
|
|
| |
|
|
|
|
| |
|
|
|
|
|