| |
|
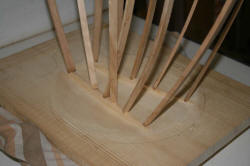
Okay, I skipped a few major steps here, but I promise to go back and
document how we got to this point with the SFSF mandolin <lol> |
|
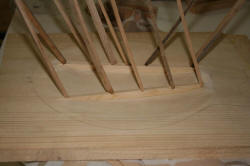
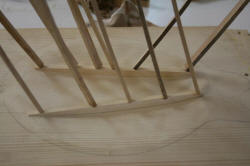
This is Sam's J-5 having the tone bars glued in place. I use my go-bar
deck, and the top is supported on a padded sandbag, which takes the
shape of the carved top, and provides 100% support. |
 |
|
|
|
|
|
|

Again, many steps were skipped to get to this point, mostly because I
didn't have to camera with me one evening. |
|
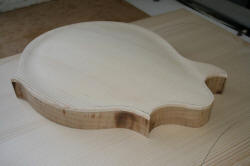
Here's Sam's, beginning to really take shape. |

The dark spots on the ribs is light scorching from the bending process;
I had zero room for error with Sam's, because I barely had enough of the
myrtle, and in fact, after bending all the pieces, only had a leftover
that was a mere 1-1/2" long! So I had to heat up high in order to not
risk a break; but the marks aren't deep, and will sand/scrape right out. |
|
|
|
| |
|

I scribble my name and date on all the tops. |
|
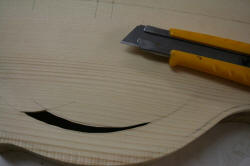
I cut the soundholes with a simple knife; starting about 1/16" inside
the lines... |
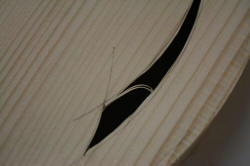
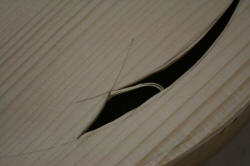
..I'll then carefully refine until I reach the line itself. |
|
|
|
|
|
|
 |
|
 |
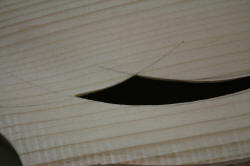
Bingo! |
|
|
|
| |
|
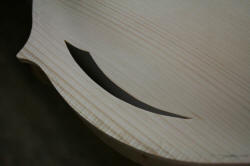
All done; I do leave a bit of room to clean it up further right before
finishing, so it will be a tad more refined than this when all is said
and done. |
|
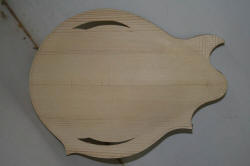
Here she be; the bass-side soundhole appears larger; that may be because
of the camera angle, or I may have messed up <lol> I'll check.. |
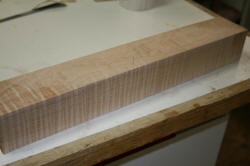
The neck begins with a large billet of maple. I'll true two side on the
jointer... |
|
|
|
|
|
|
|
|
|
|
|
|
|
| |
|
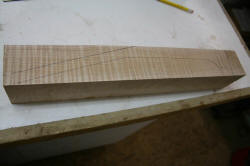
..and lay out the neck's rough shape using a template. |
|
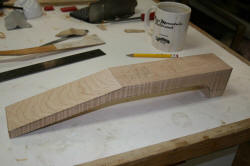
Rough bandsawn and ready for the truss rod slot!. Note that I orient my
mandolin necks "on the flat" instead of "on the quarter". This shows the
figure better to then player, and provides a stronger glue surface for
the fretboard. Besides, Lloyd Loar built his necks this way also! |
|
|
|
|
|
|
|
|
|
|
|
|
|
|
